


How to Create a Gallery Wall: A Step-by-Step Guide for 2026
A gallery wall is one of the most effective ways to personalise a living room and create a focal point that genuinely reflects you. Done well, it reads as intentional, layered, and full of character. Done poorly, it looks like a collection of random frames that happened to end up on the same wall. The difference between the two outcomes is almost entirely about planning. This guide gives you a clear process for creating a gallery wall that looks considered and coherent.
Step 1: Choose Your Wall
Not all walls are equally good candidates for a gallery wall. The best gallery wall location has: adequate size (at least 100cm wide and 120cm tall for a composition that has visual weight); good lighting — either natural light or a lamp positioned to illuminate the wall from the side; visual context — the wall should be seen from the main seating position in the room, not from the side or behind the sofa; and minimal obstructions — avoid walls with too many light switches, electrical outlets, or doors close by that would compete with the arrangement.
Step 2: Define Your Aesthetic
Before buying frames or selecting artwork, define the look you're aiming for. The two main axes are formal vs informal and monochrome vs colour. Formal gallery walls use matching frames, consistent spacing, and a grid-like arrangement. Informal gallery walls mix frame shapes, sizes, and finishes, with varied spacing that creates an organic, layered feel. Decide which direction you're going in and commit — mixing the approaches typically results in something that looks neither intentional nor organic.
Step 3: Gather Your Content
A gallery wall becomes personal when it mixes different types of content. Consider including: art prints (framed posters or limited edition prints that reflect your taste); personal photographs (printed at professional quality rather than home-printed); objects with depth — small mirrors, ceramic tiles, pressed botanical specimens in frames; and typography pieces — quotes or typographic prints that reinforce the room's atmosphere. Avoid using purely personal family photographs if the wall is in a more formal space — they can feel intimate in a way that works in a family home but may not in a more designed setting.

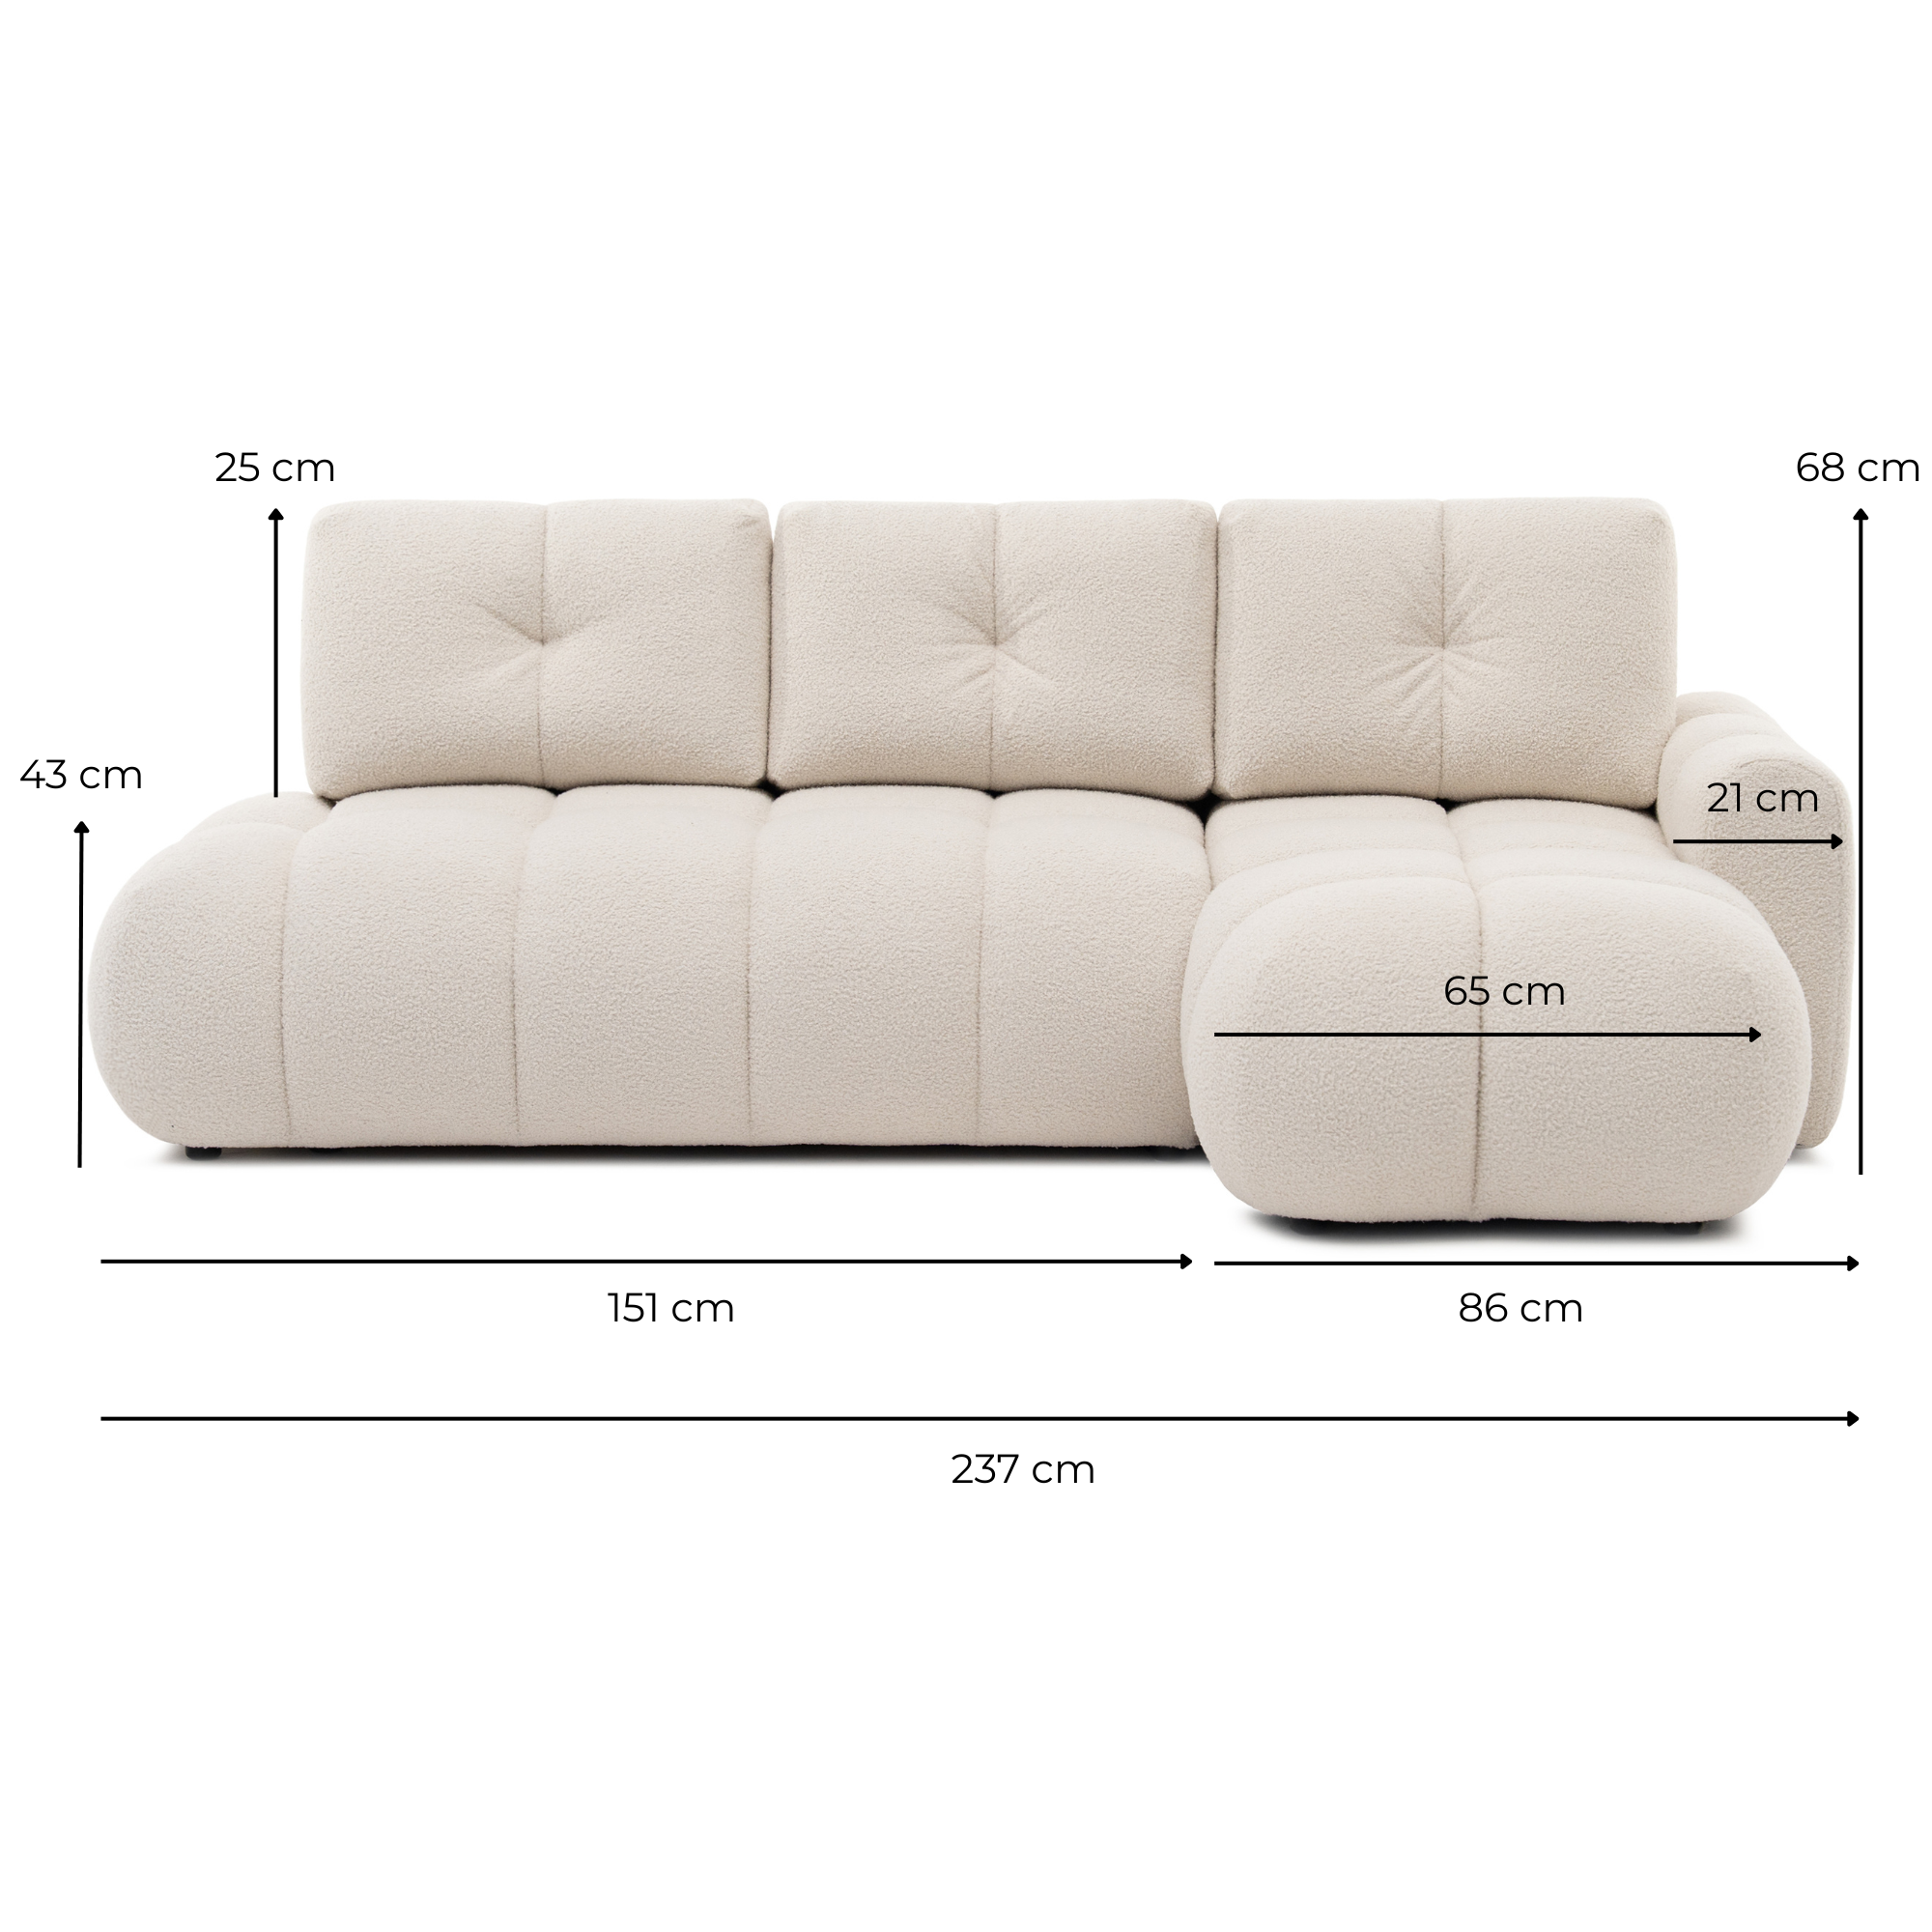
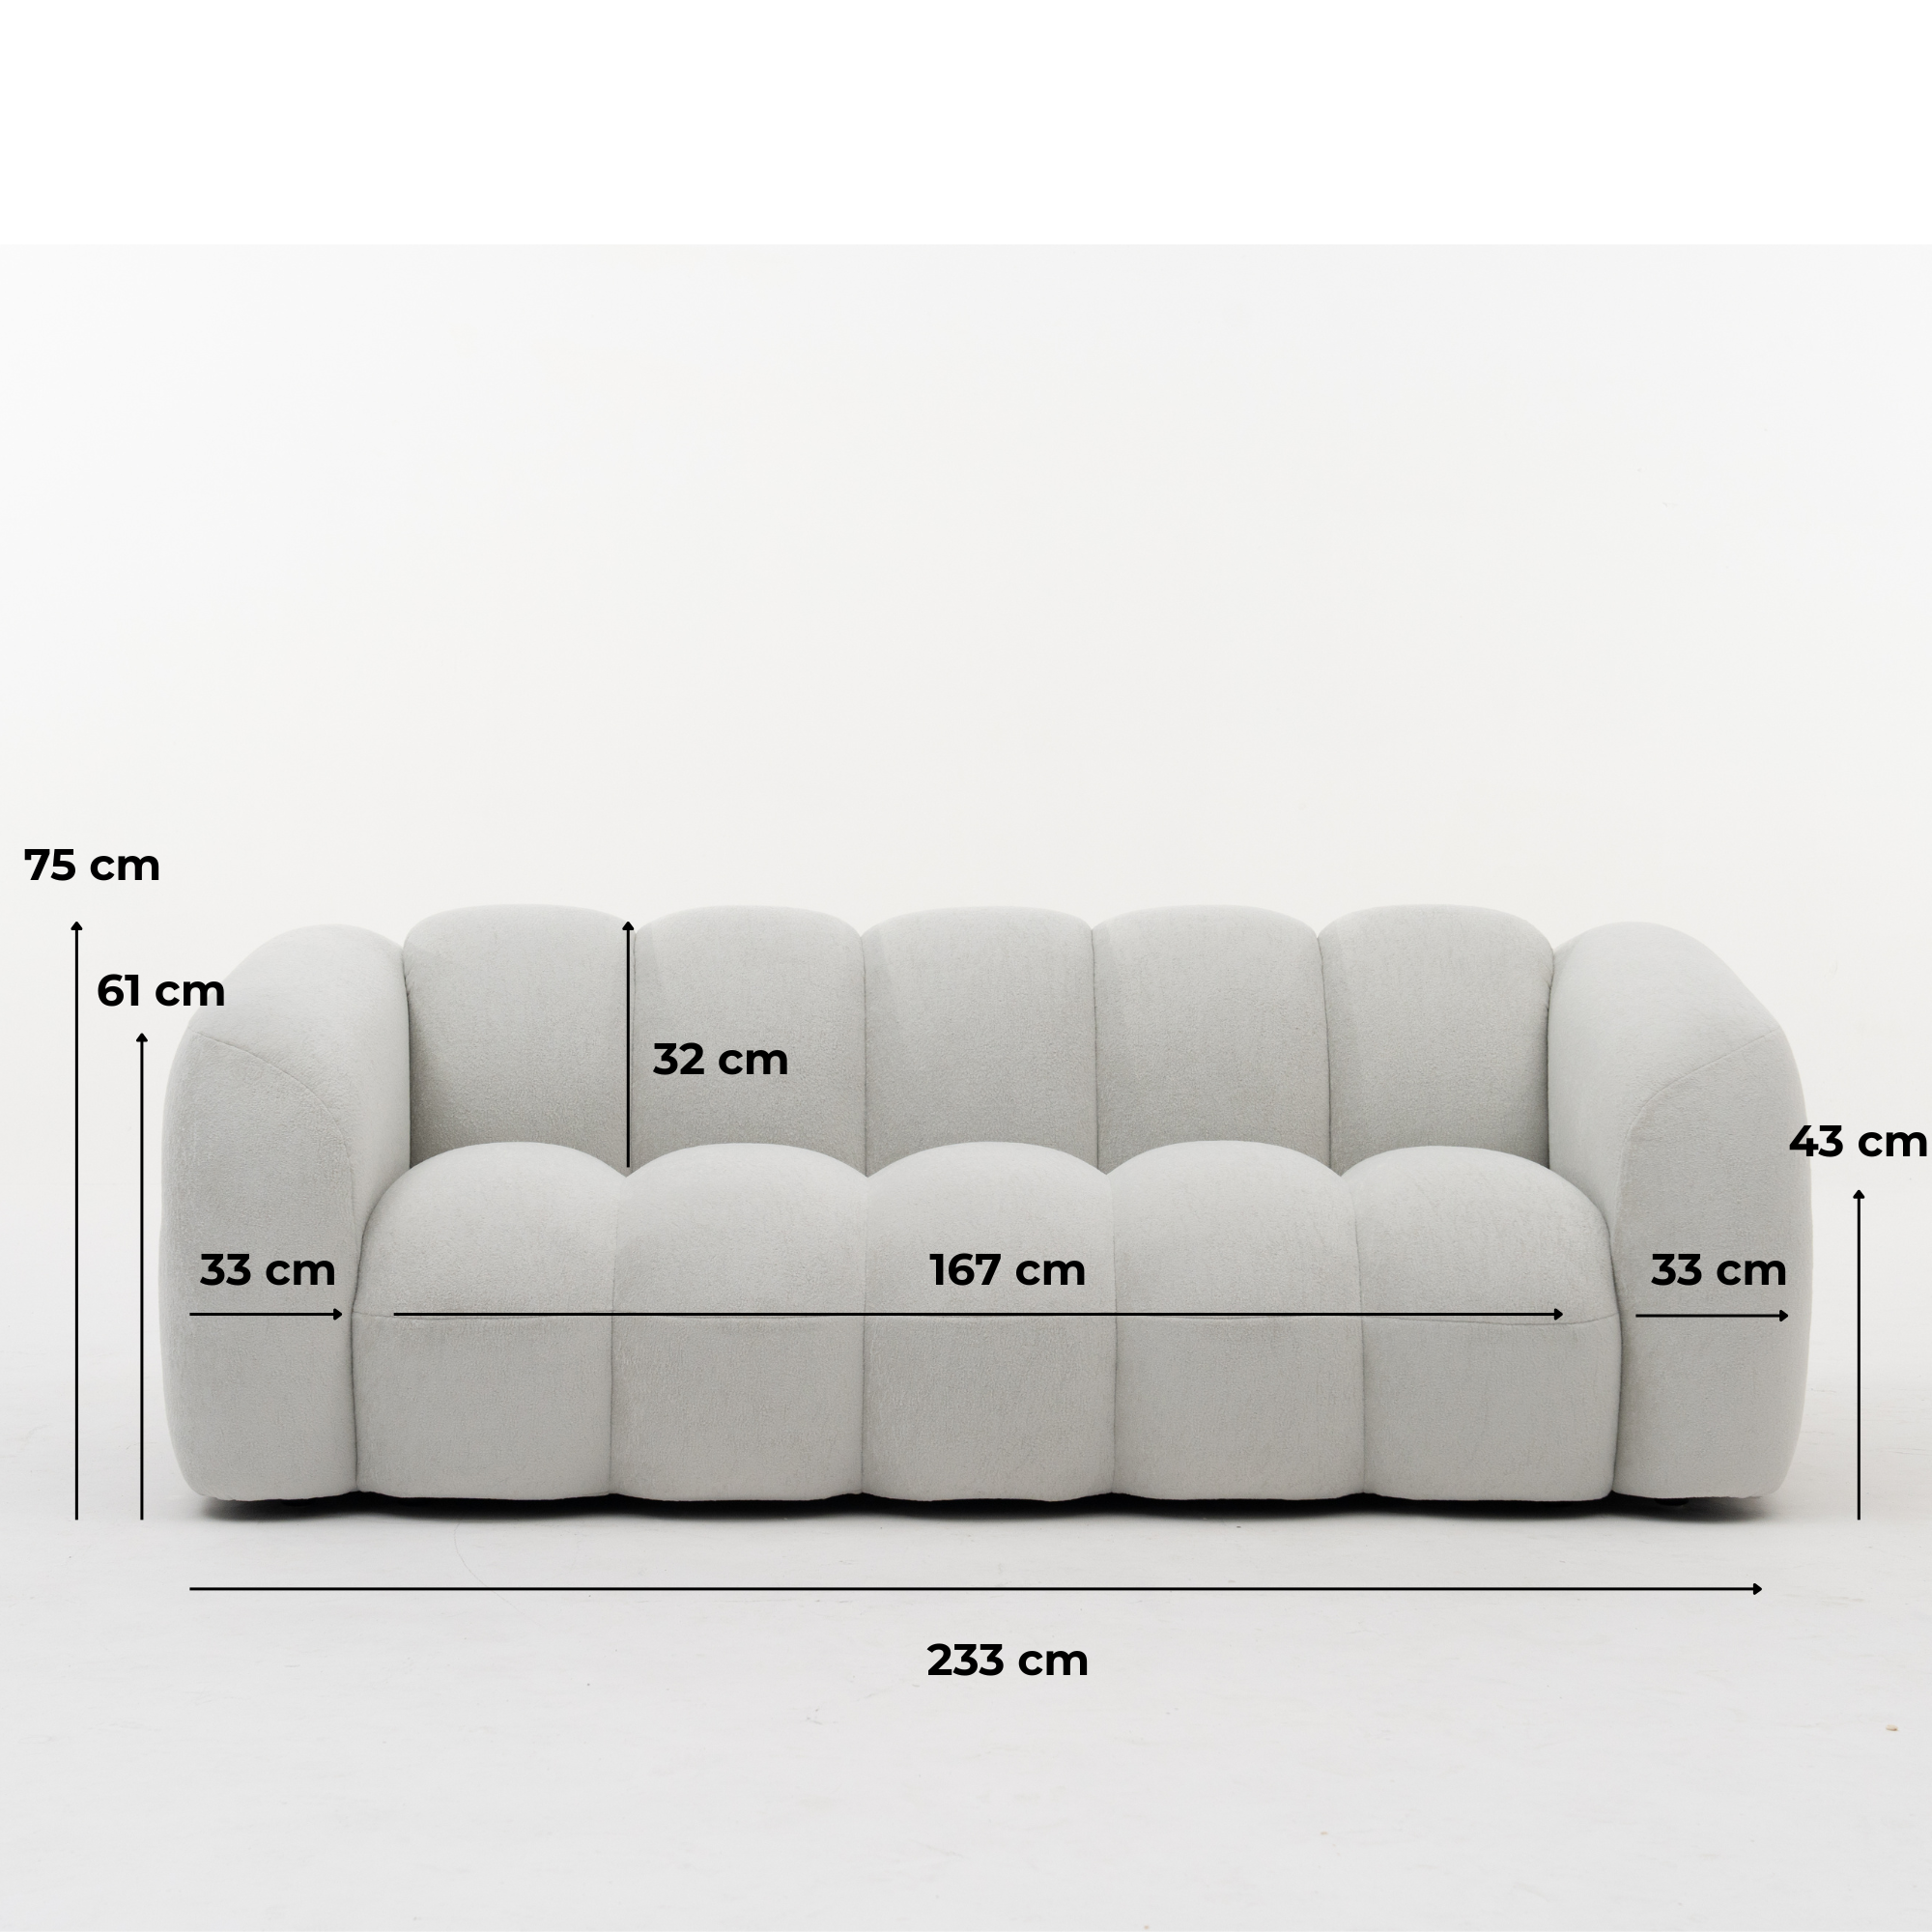
Riva 3-Seater Sofa — from €999
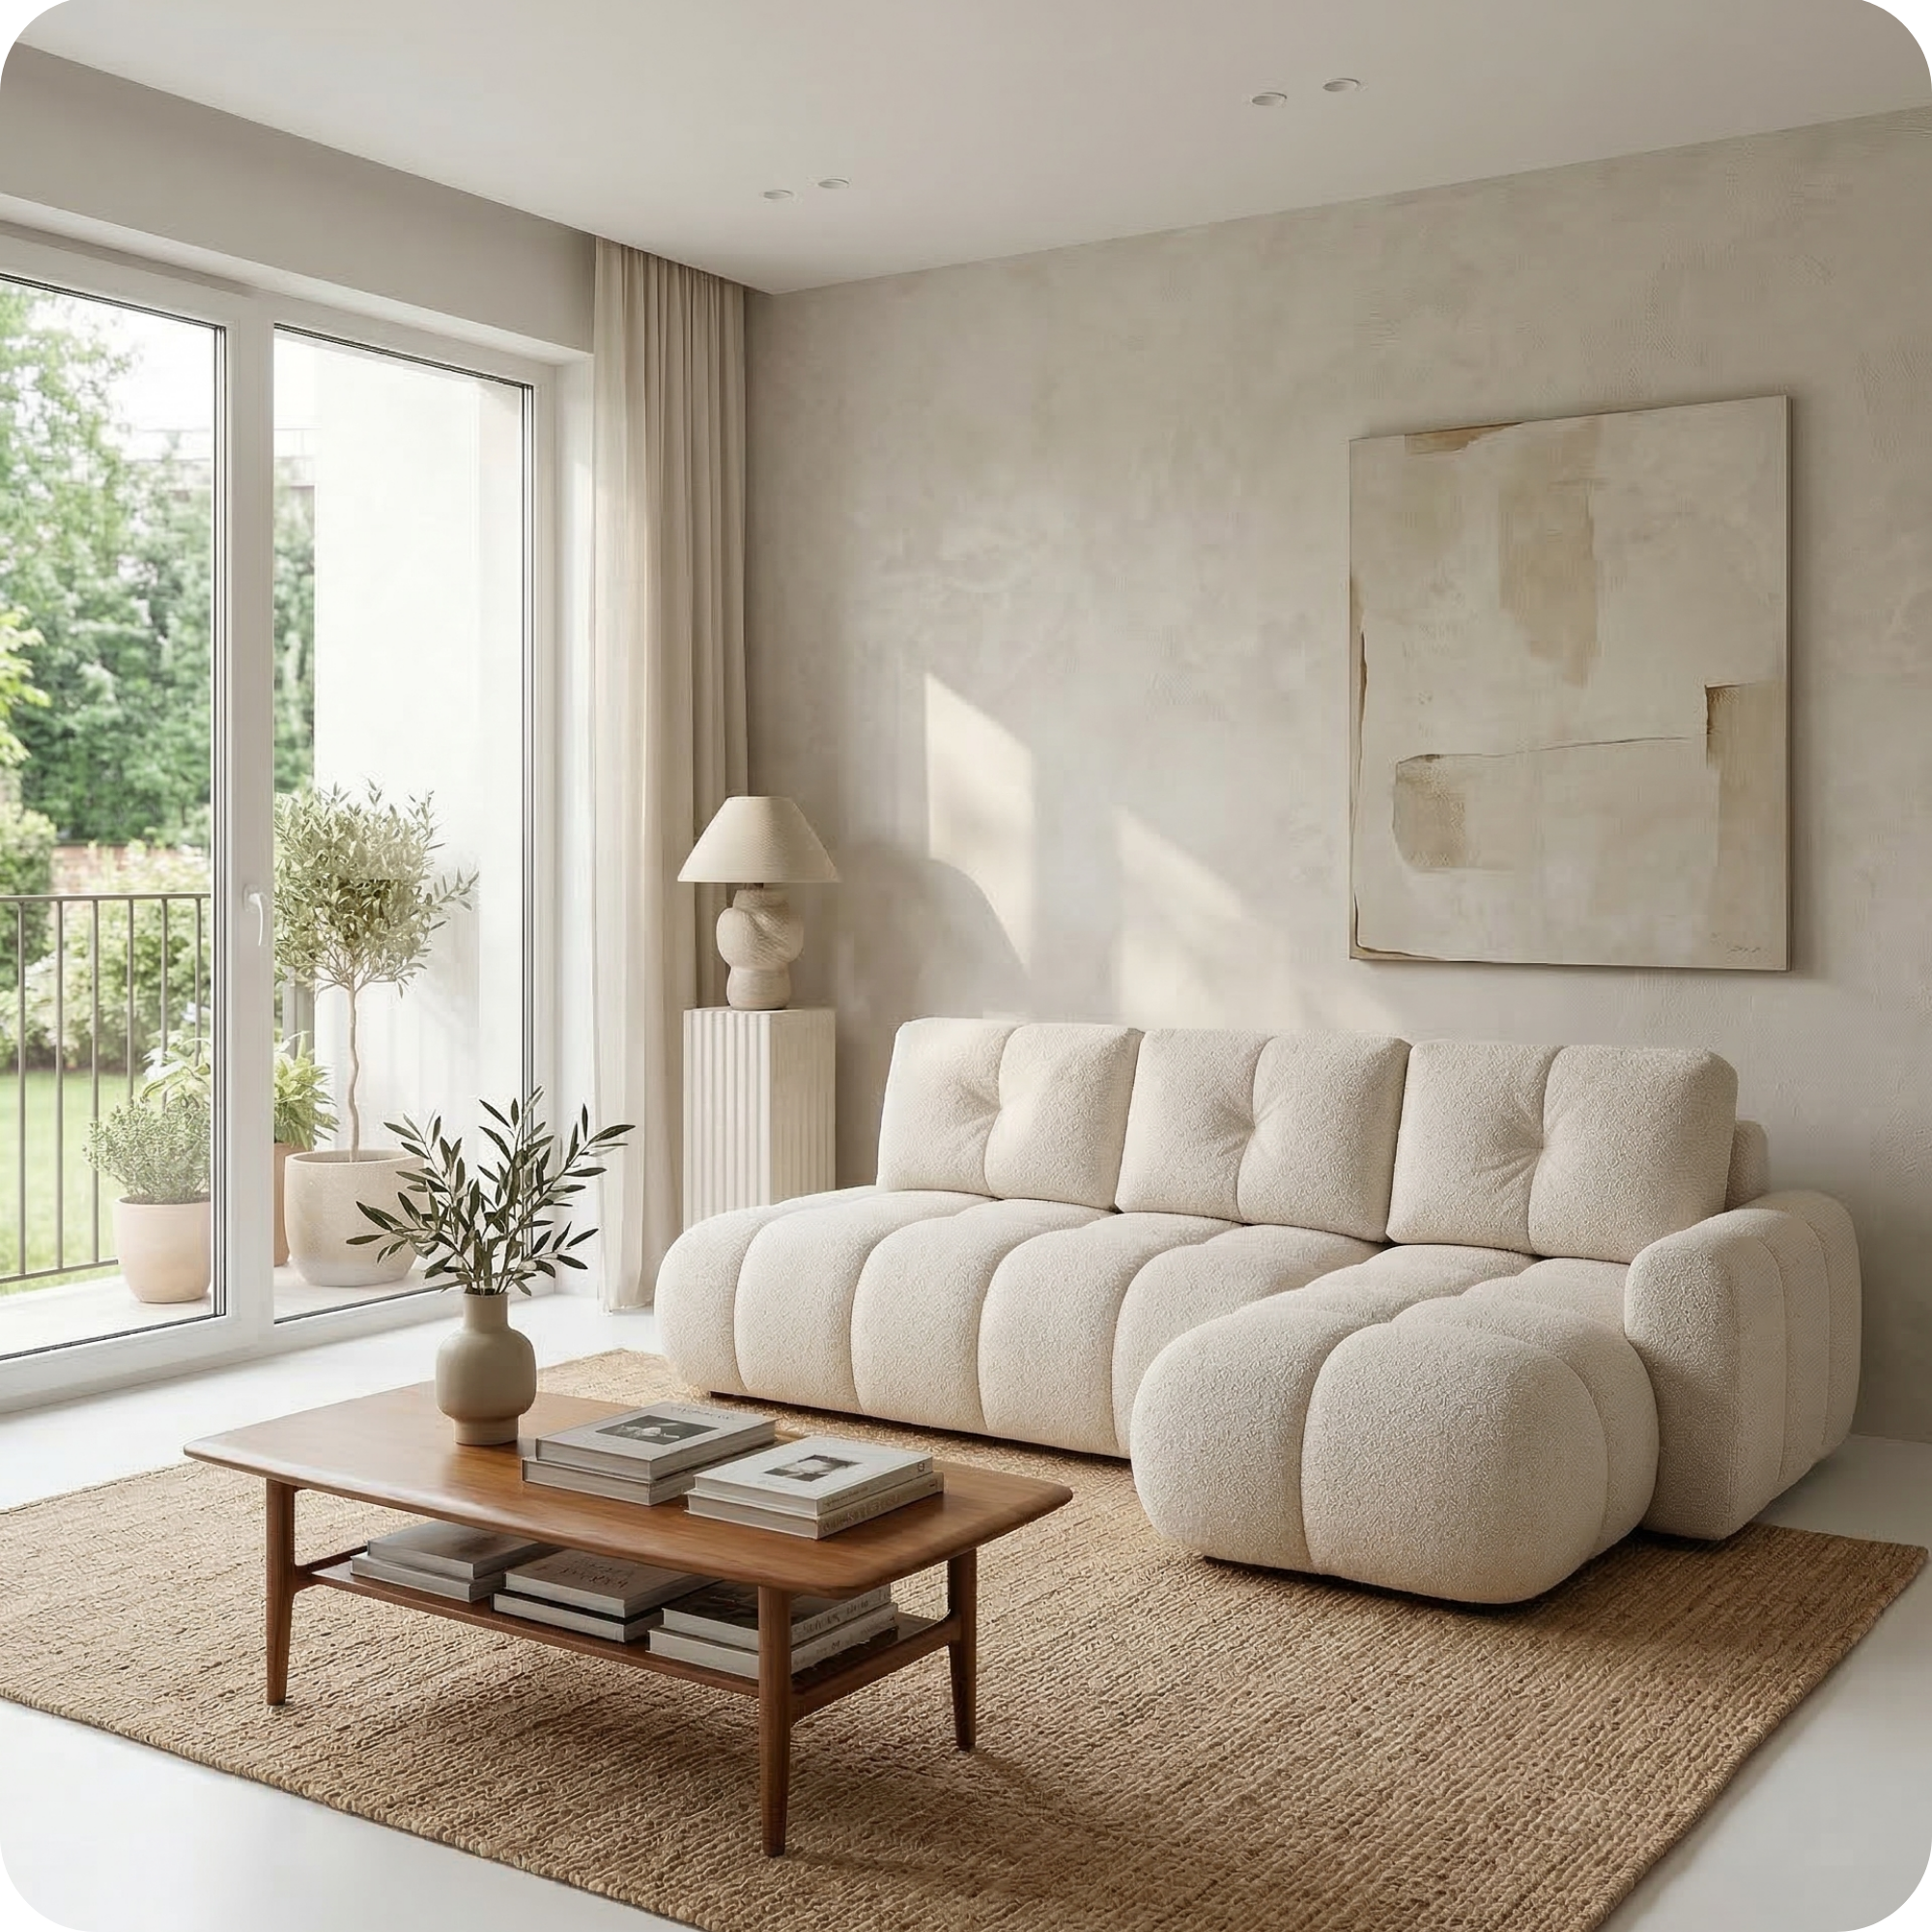
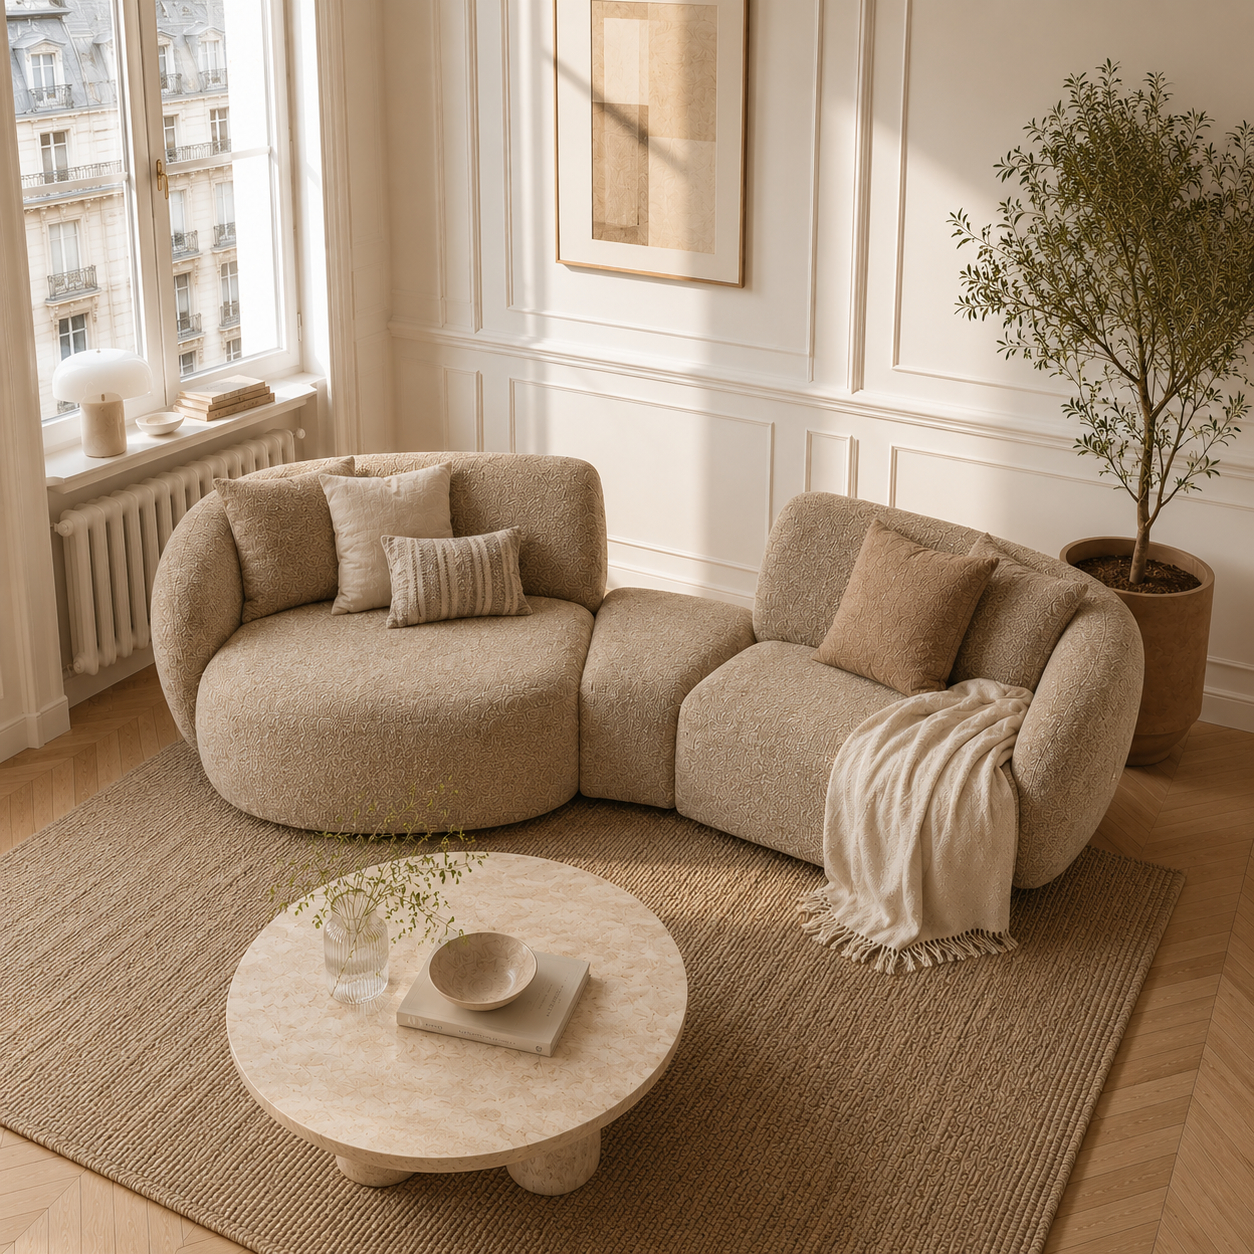
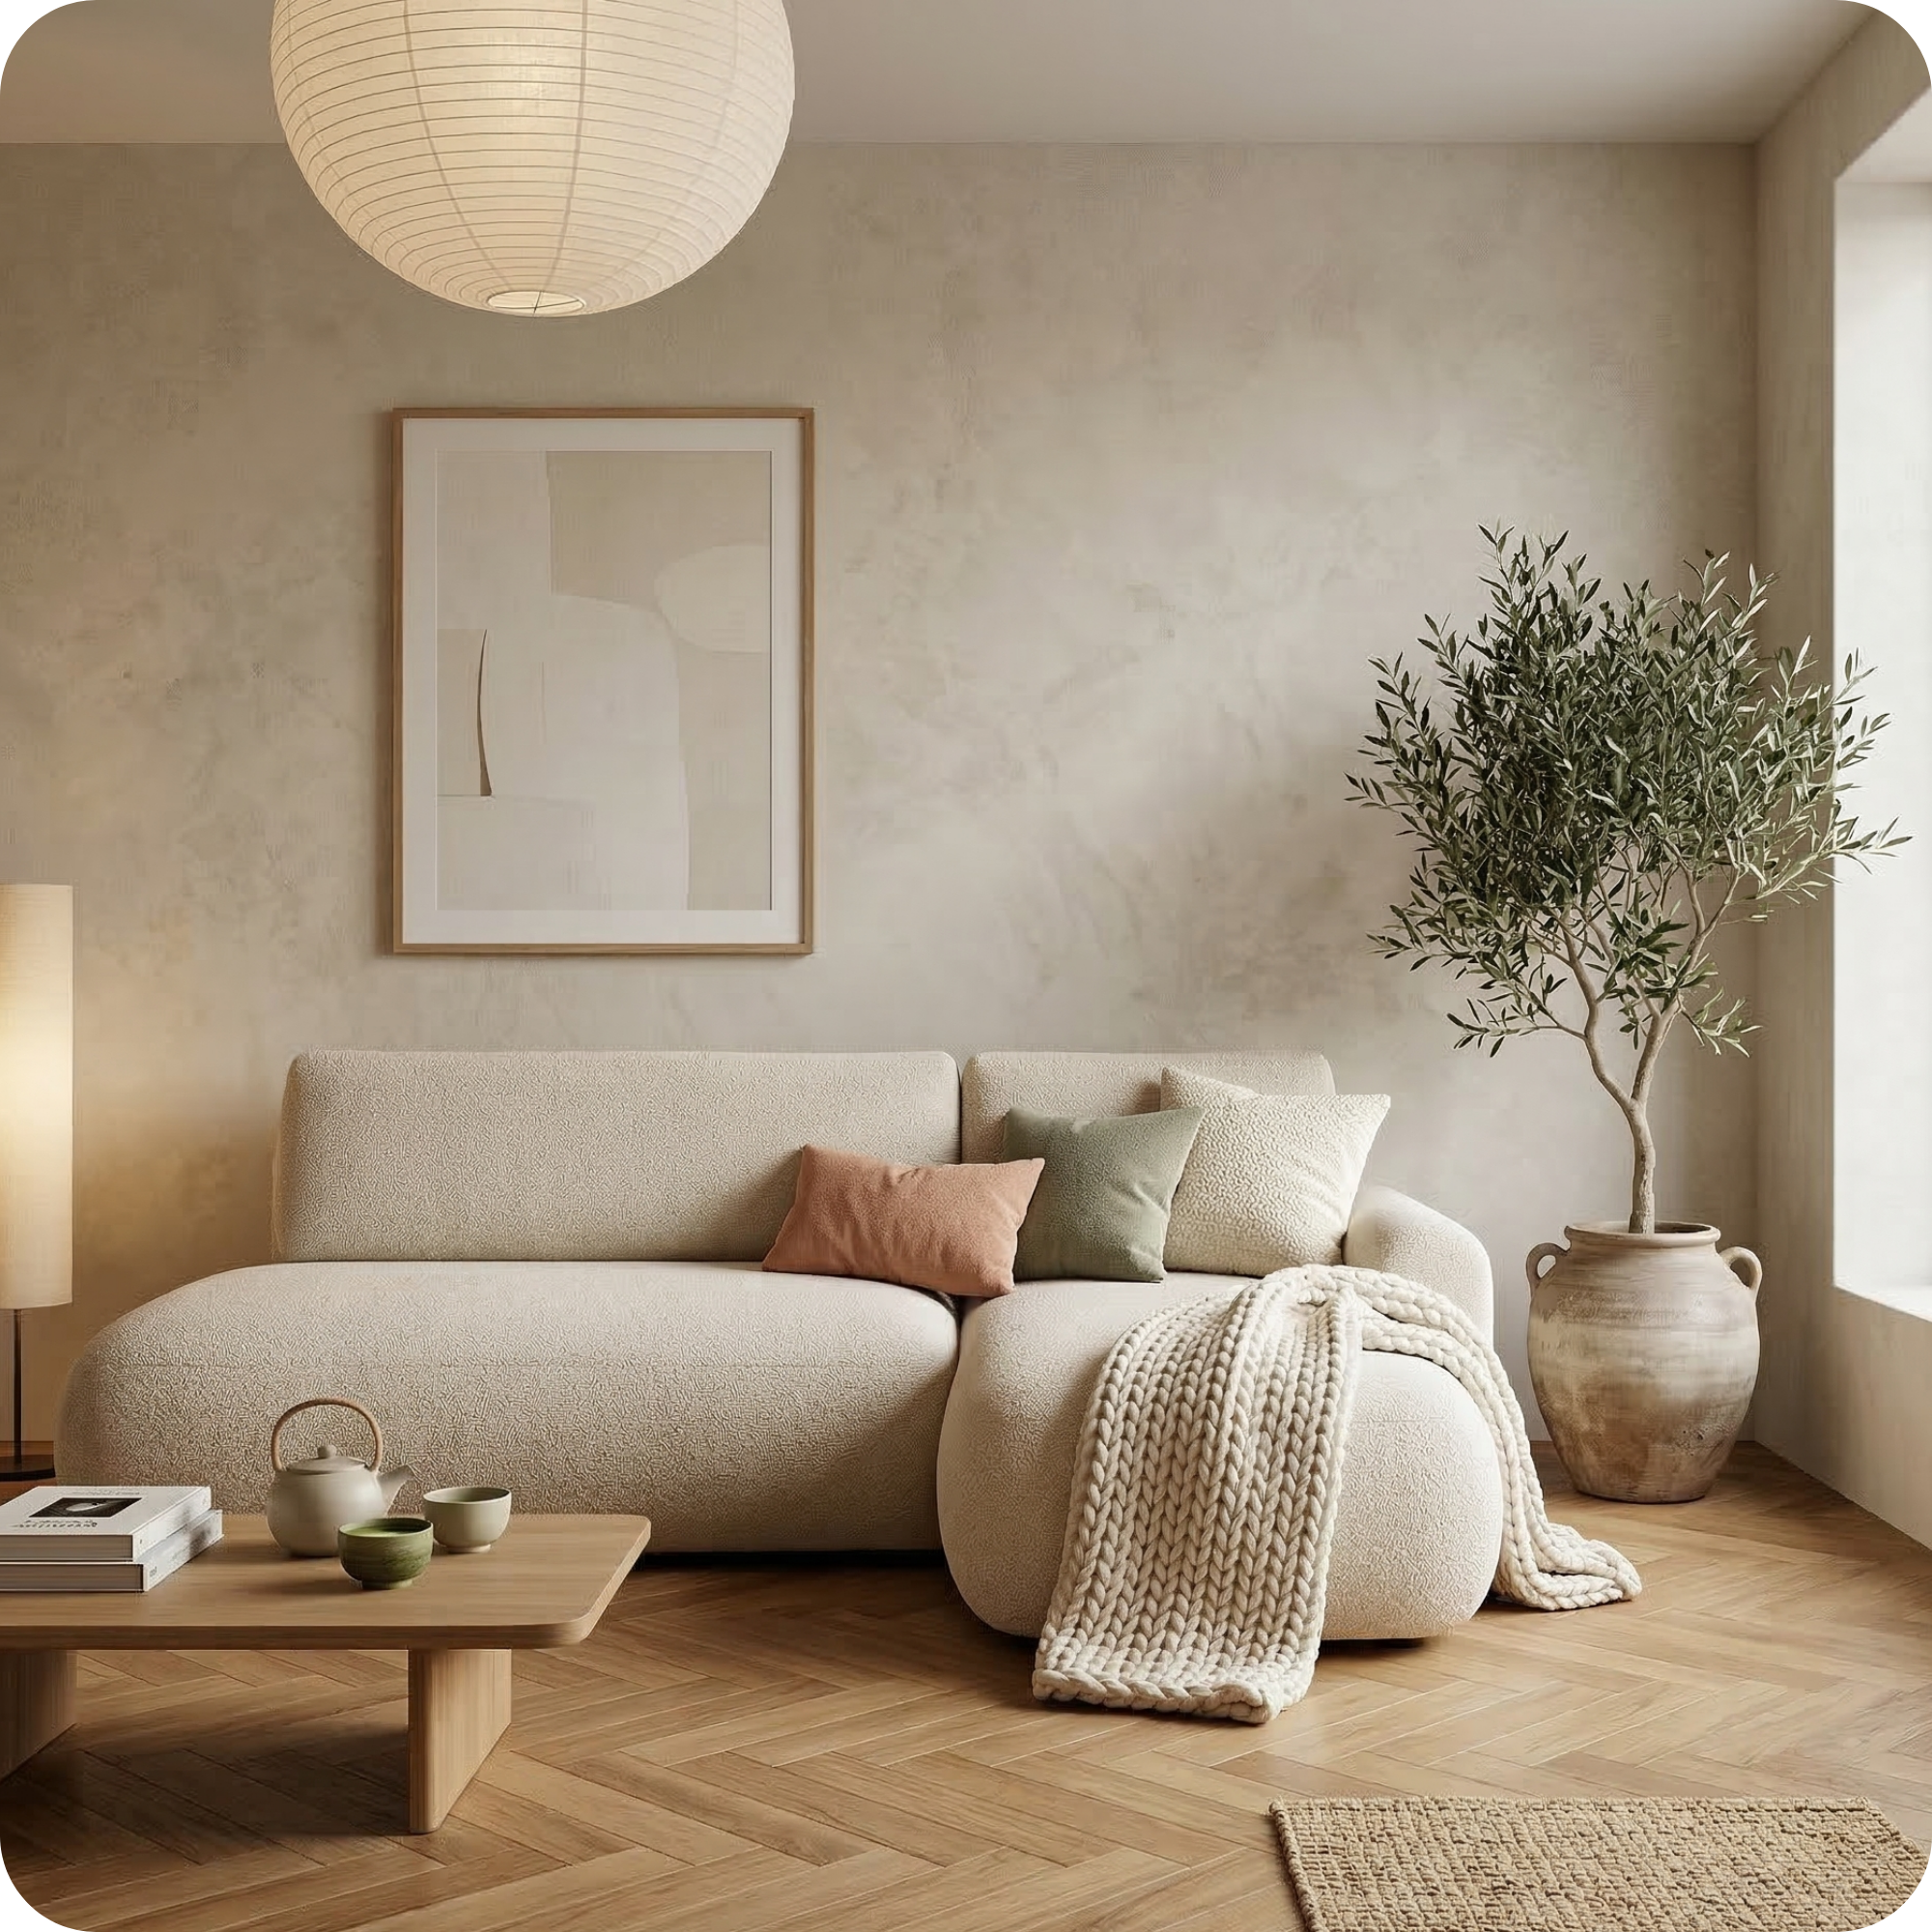
The Riva's clean-lined profile and neutral upholstery make it an excellent backdrop for a gallery wall composition. When positioned against a gallery wall, the sofa's horizontal emphasis grounds the vertical layering of the frames above it, creating a composed and considered focal point for the room.

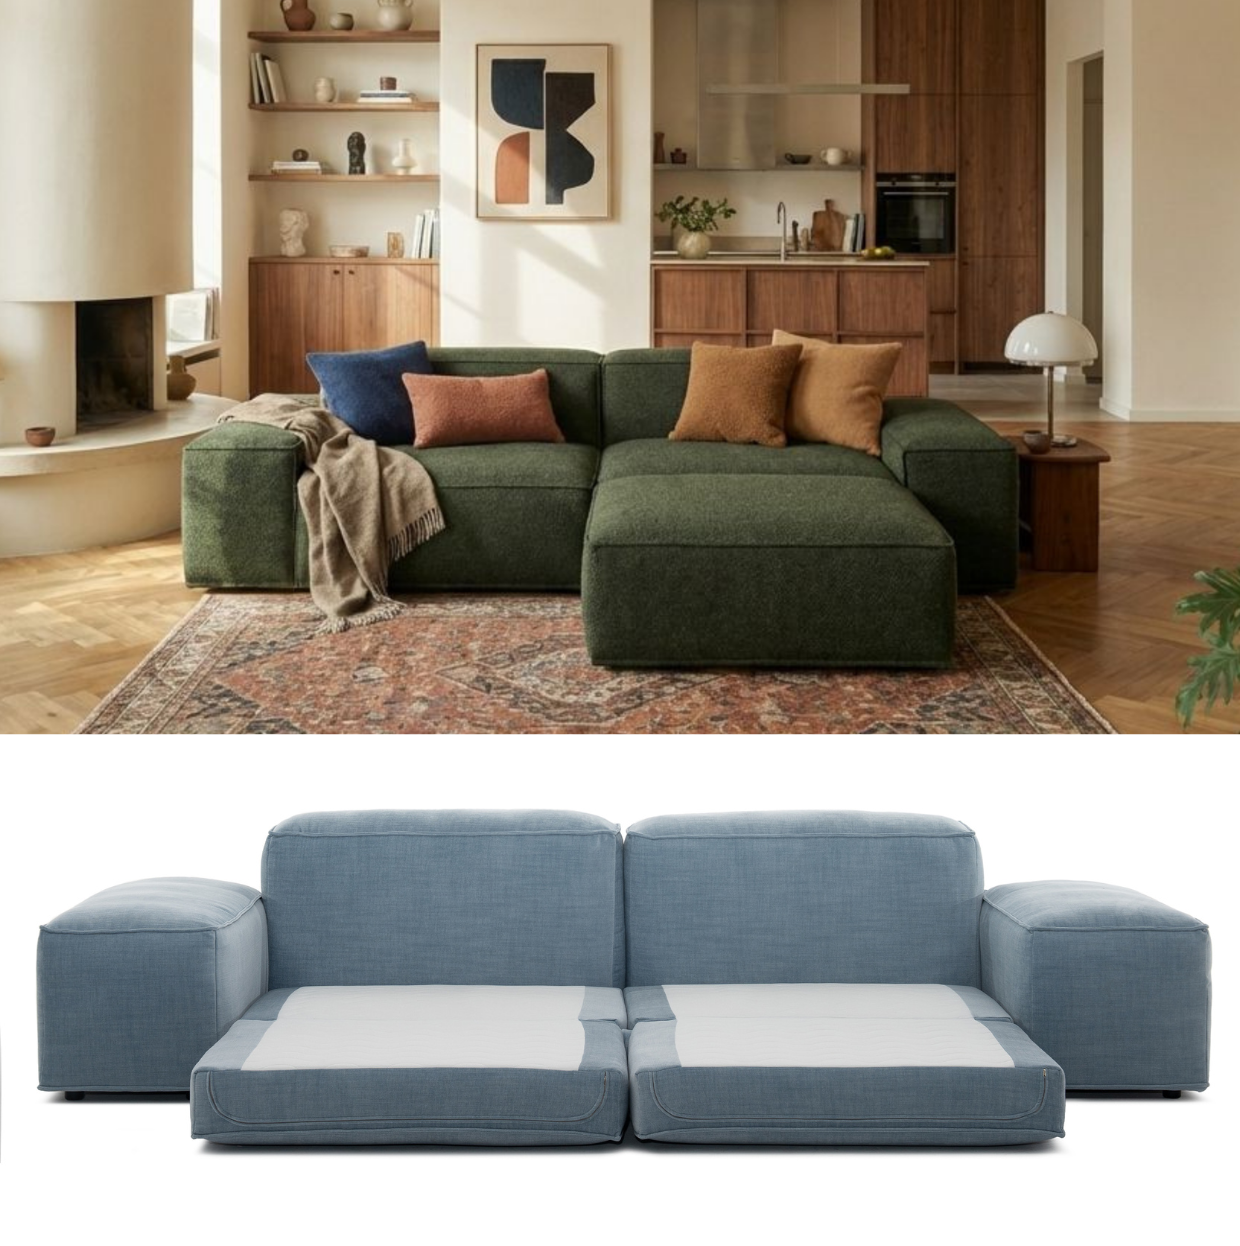
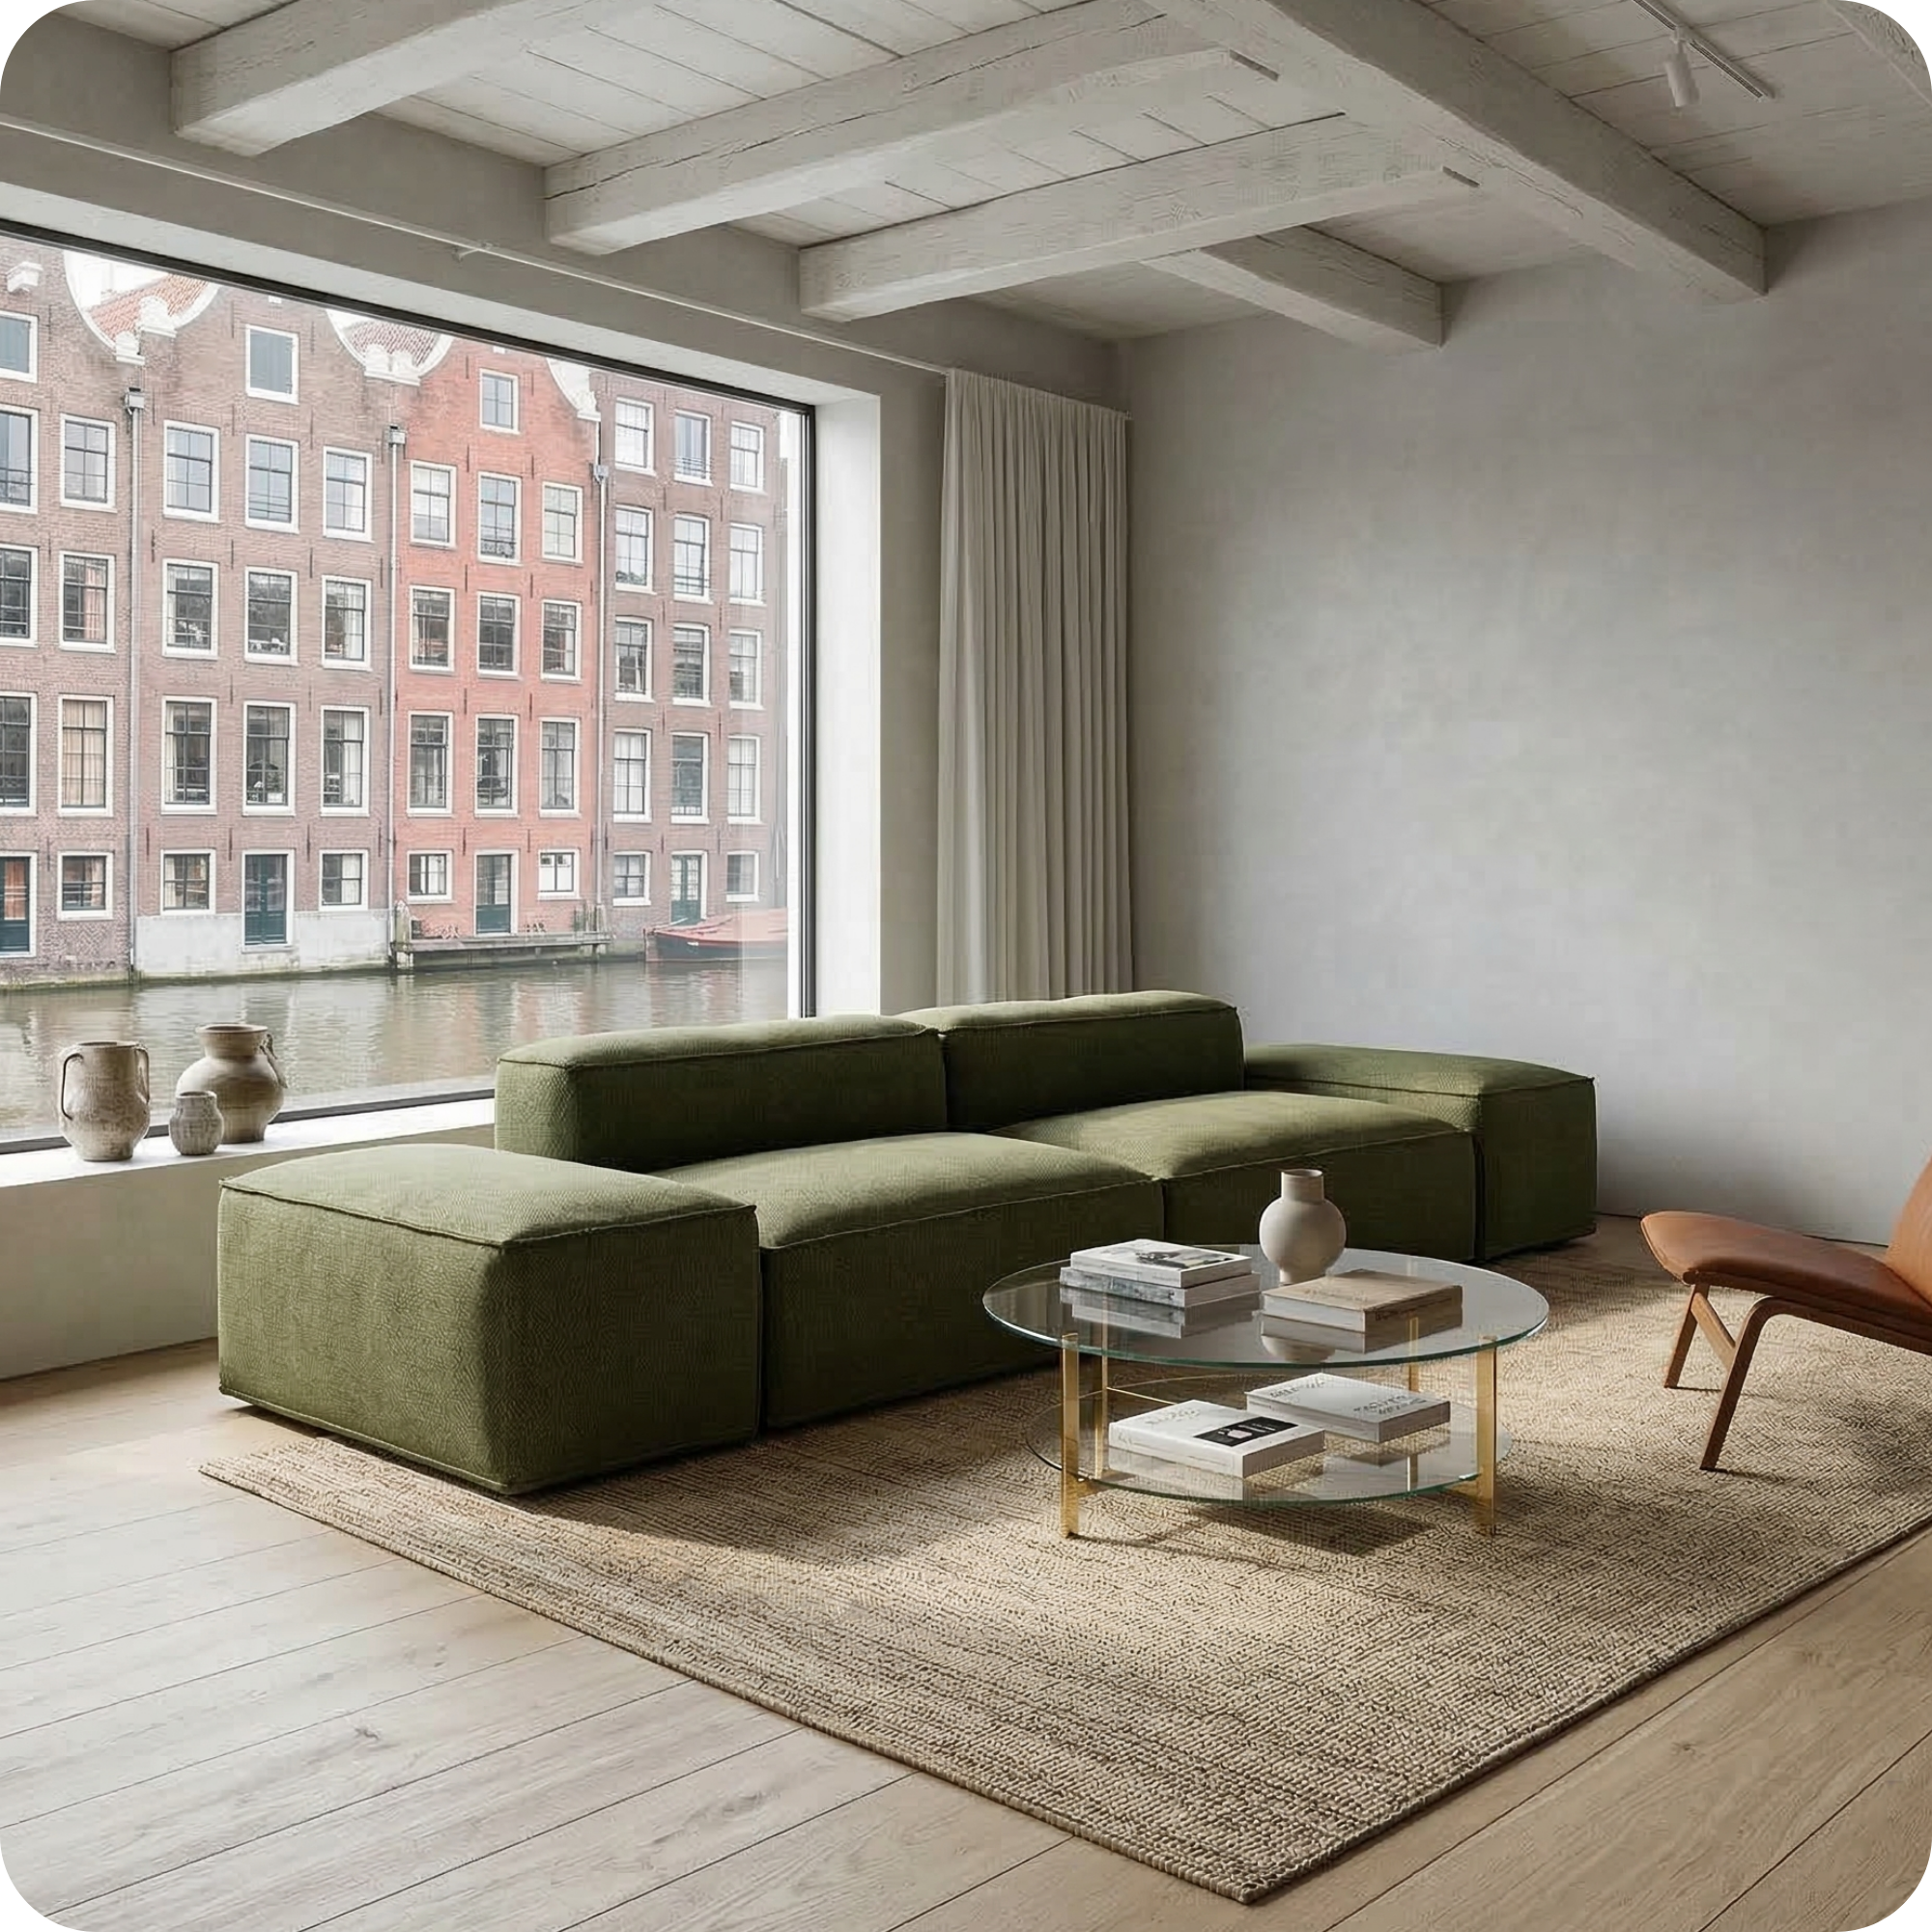
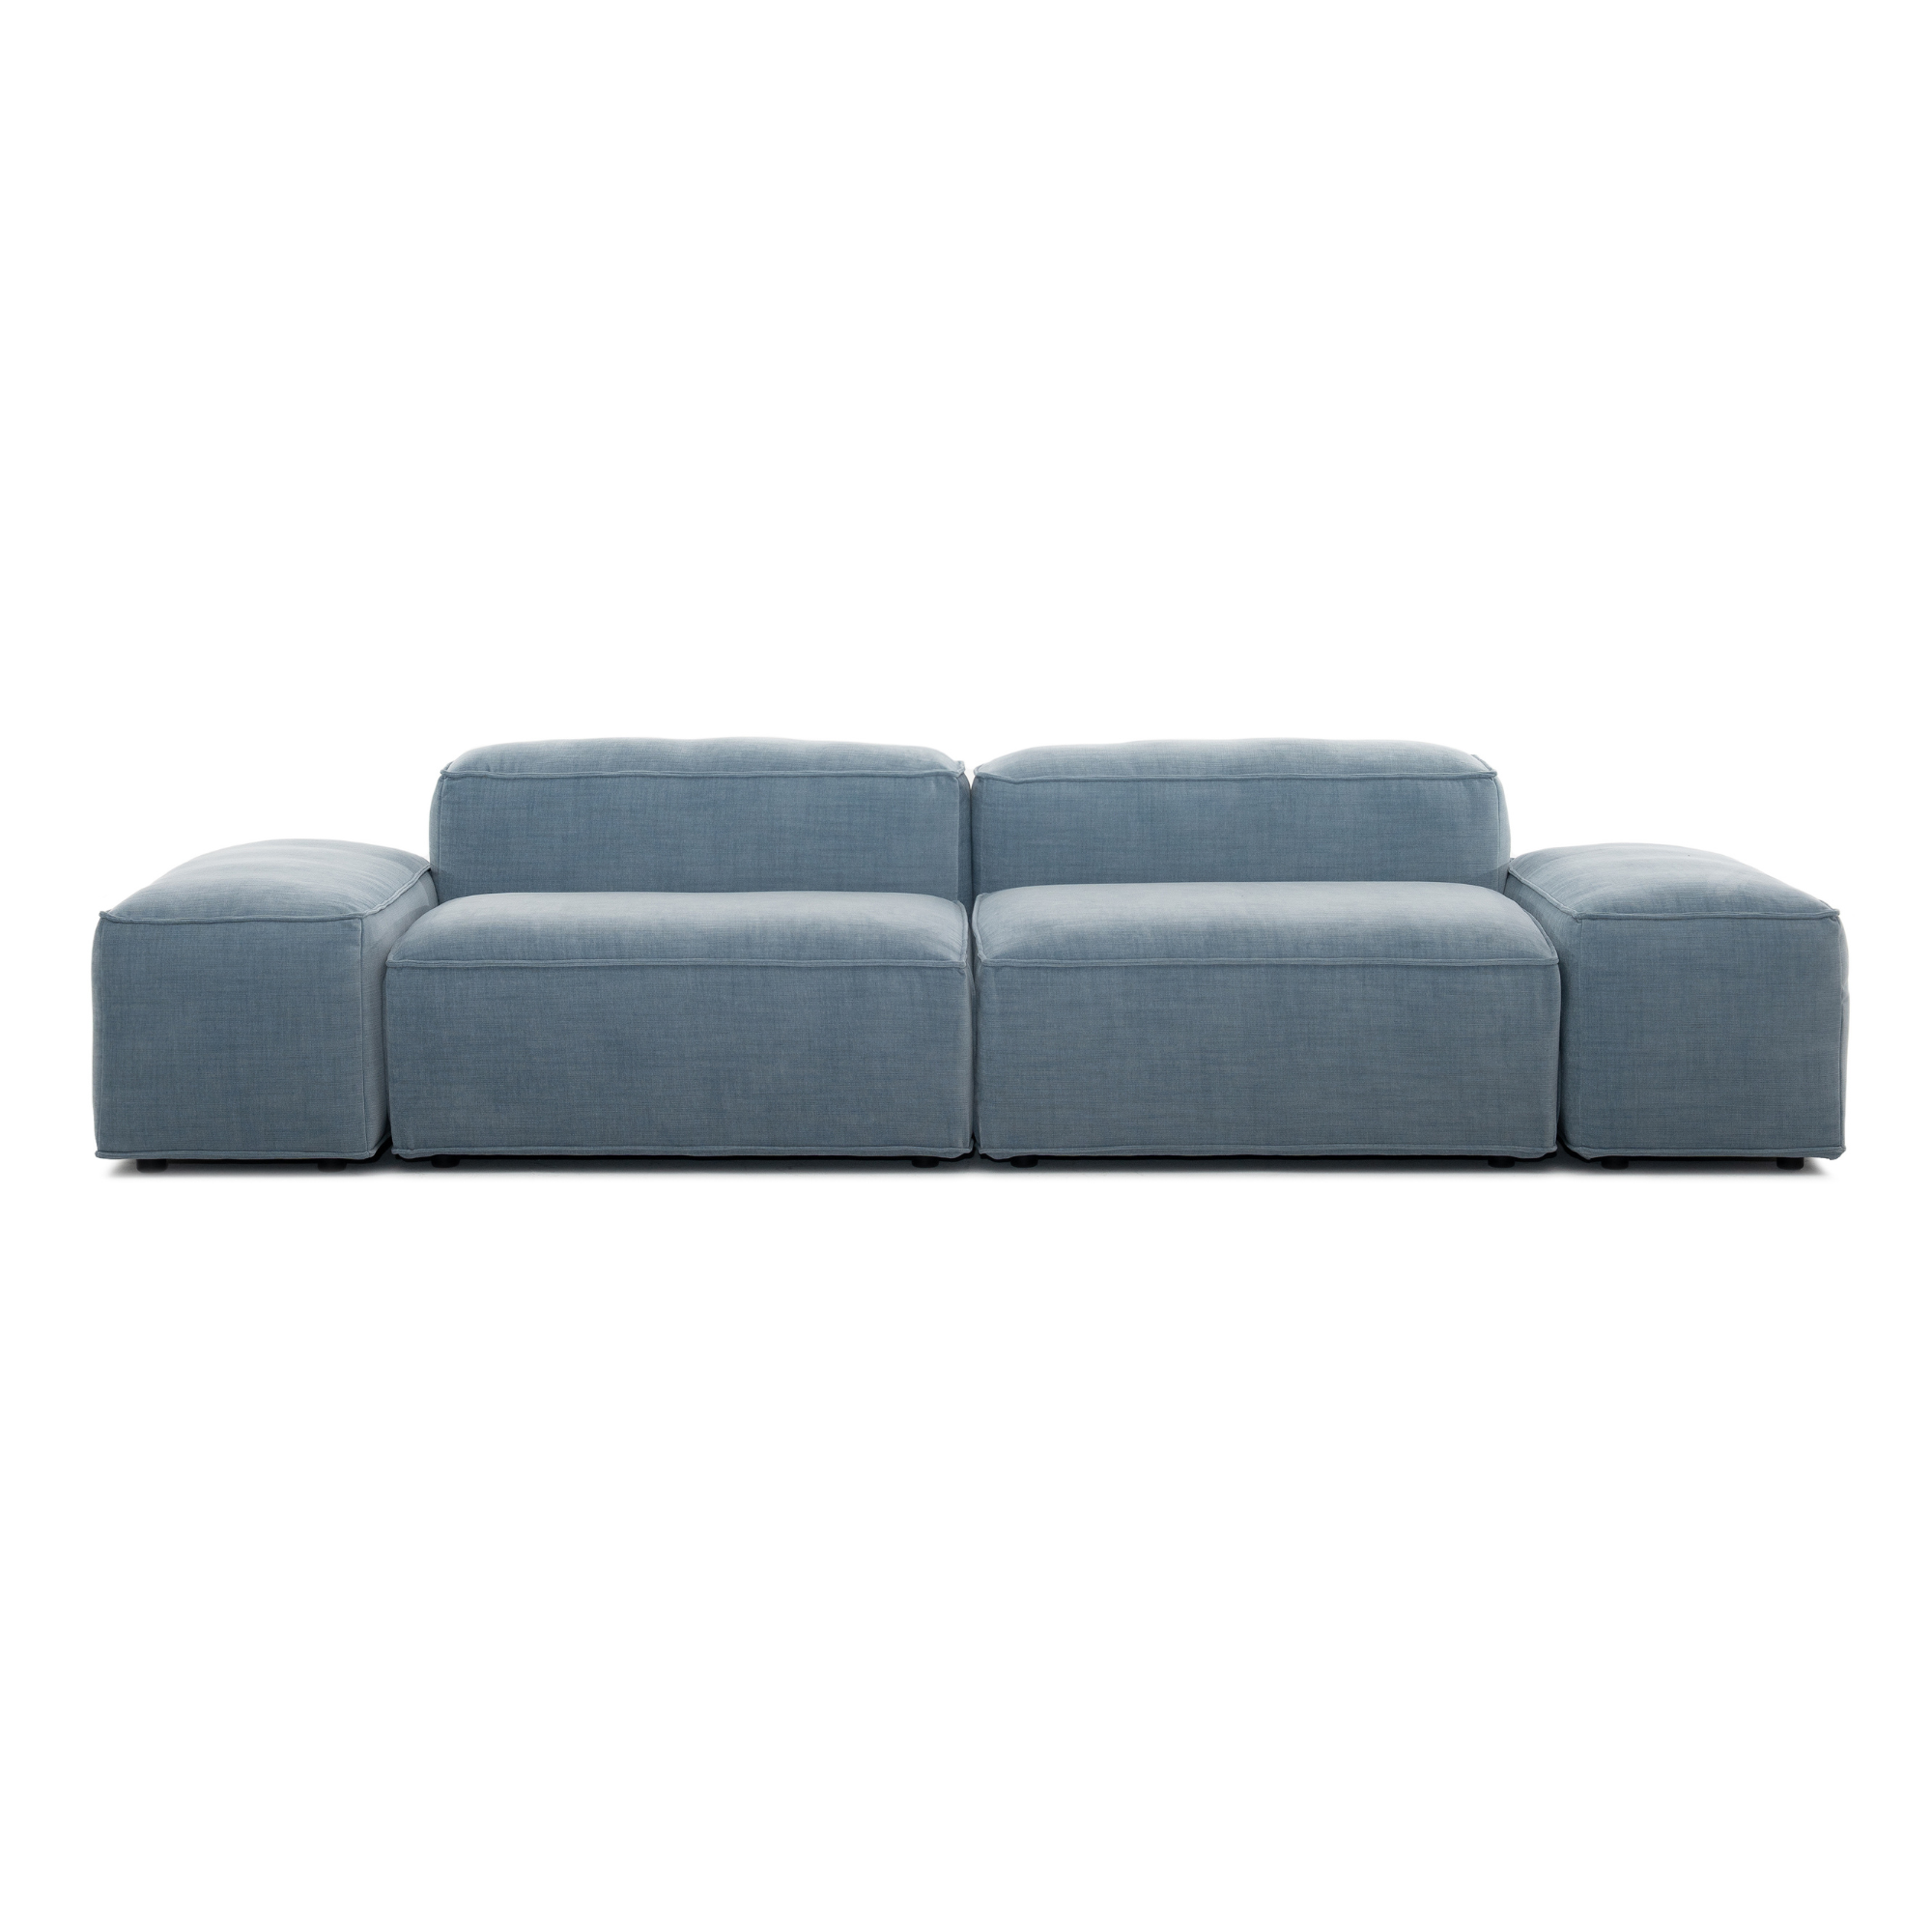
Malbec Modular Sofa — from €2,375
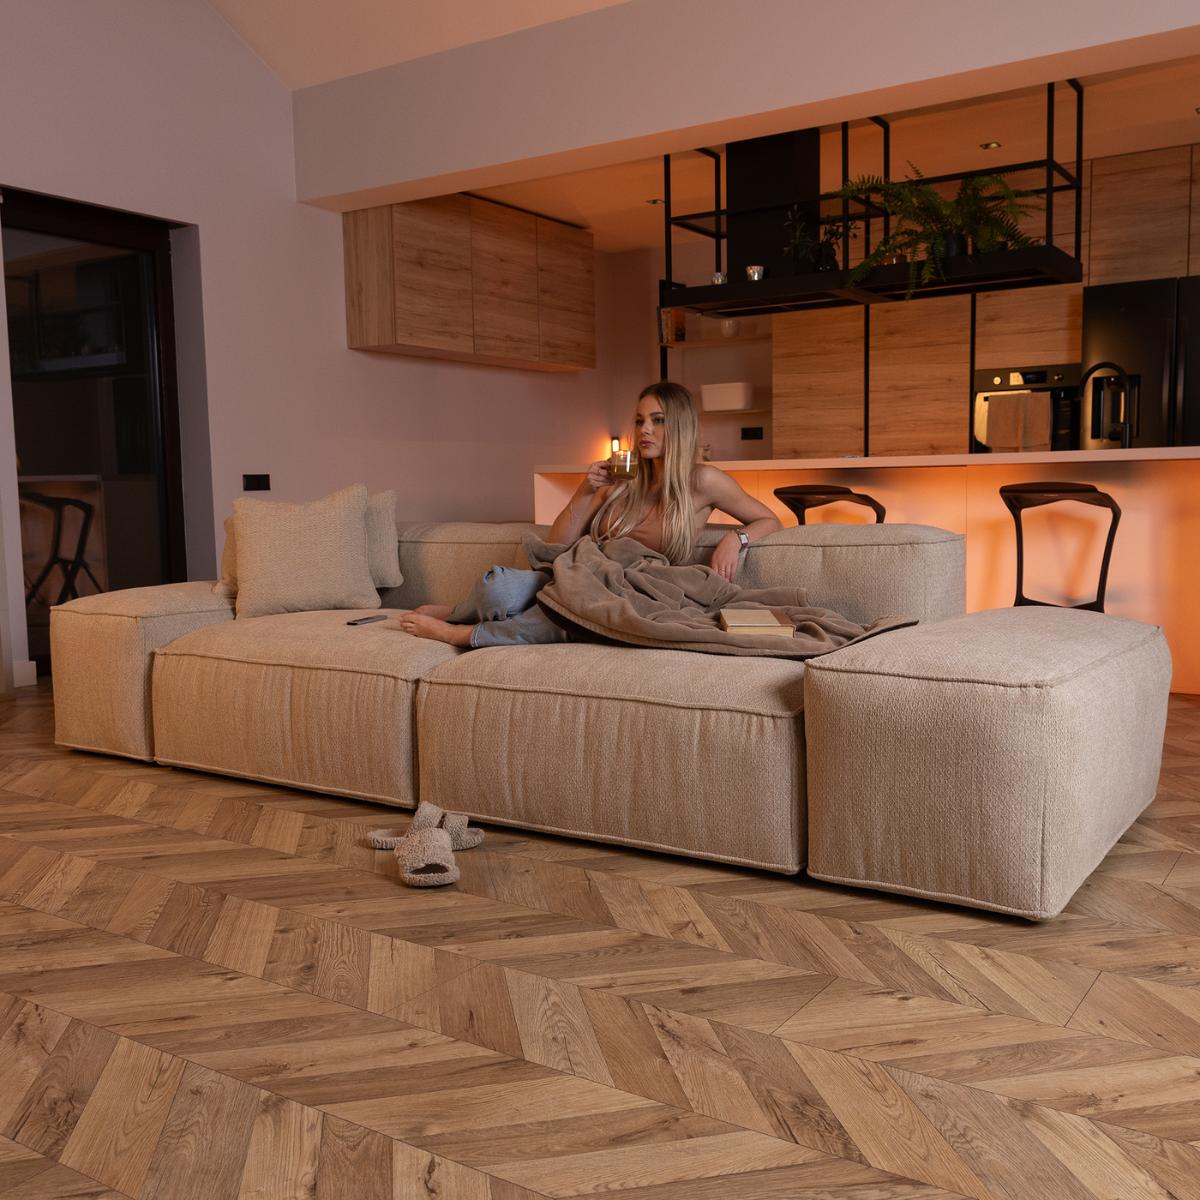
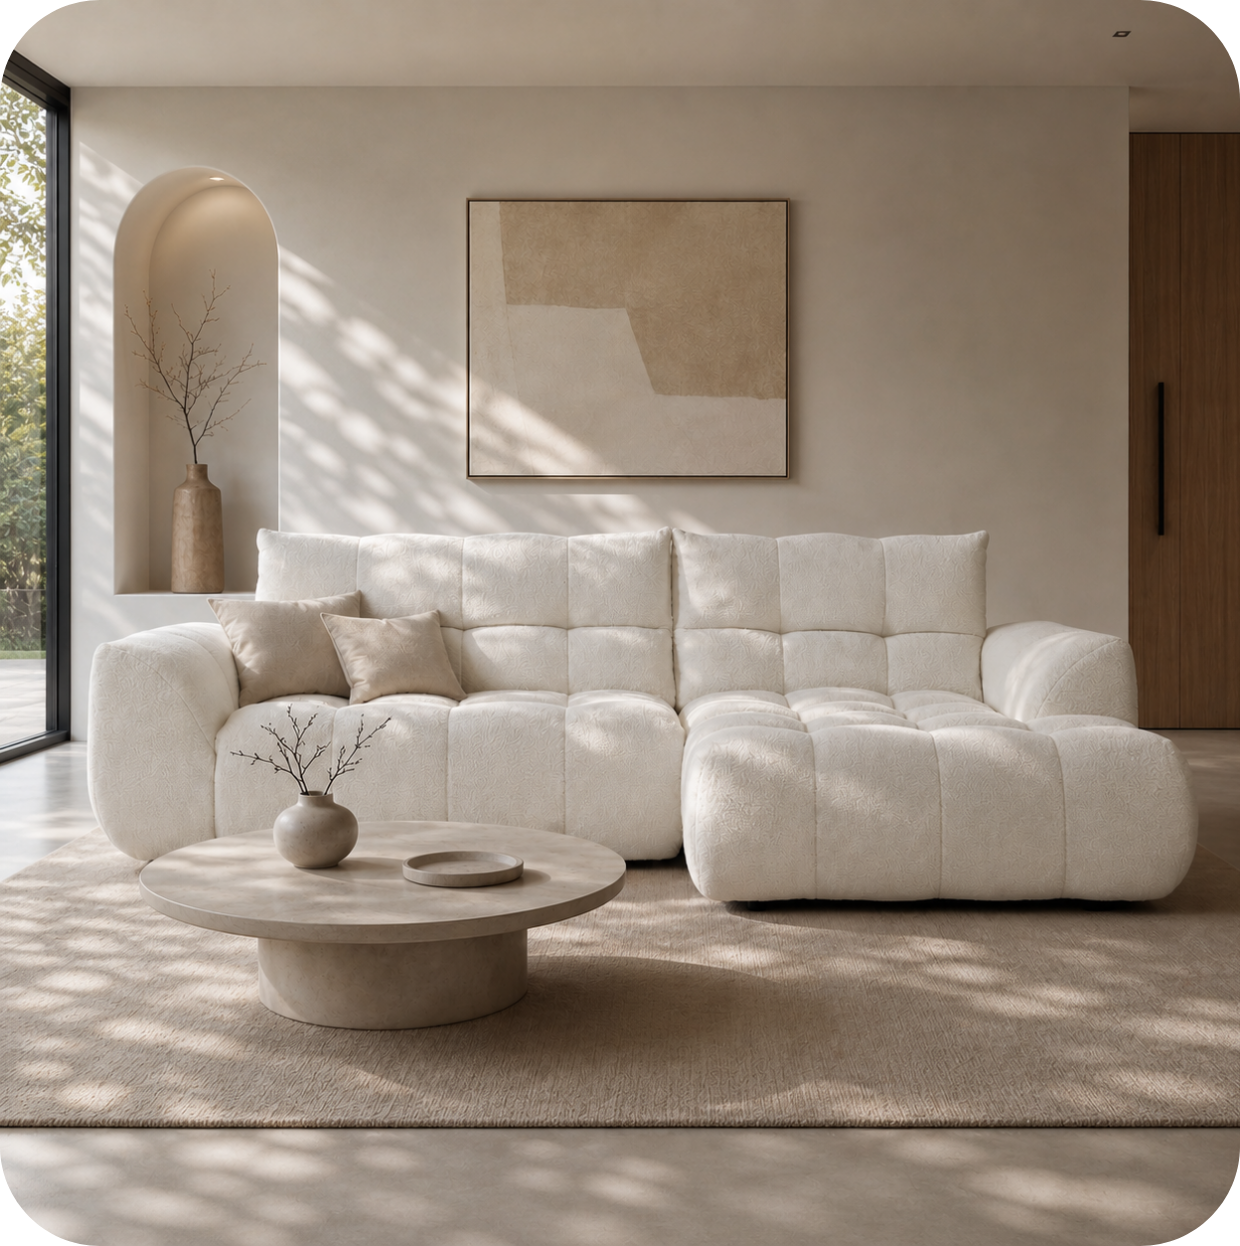
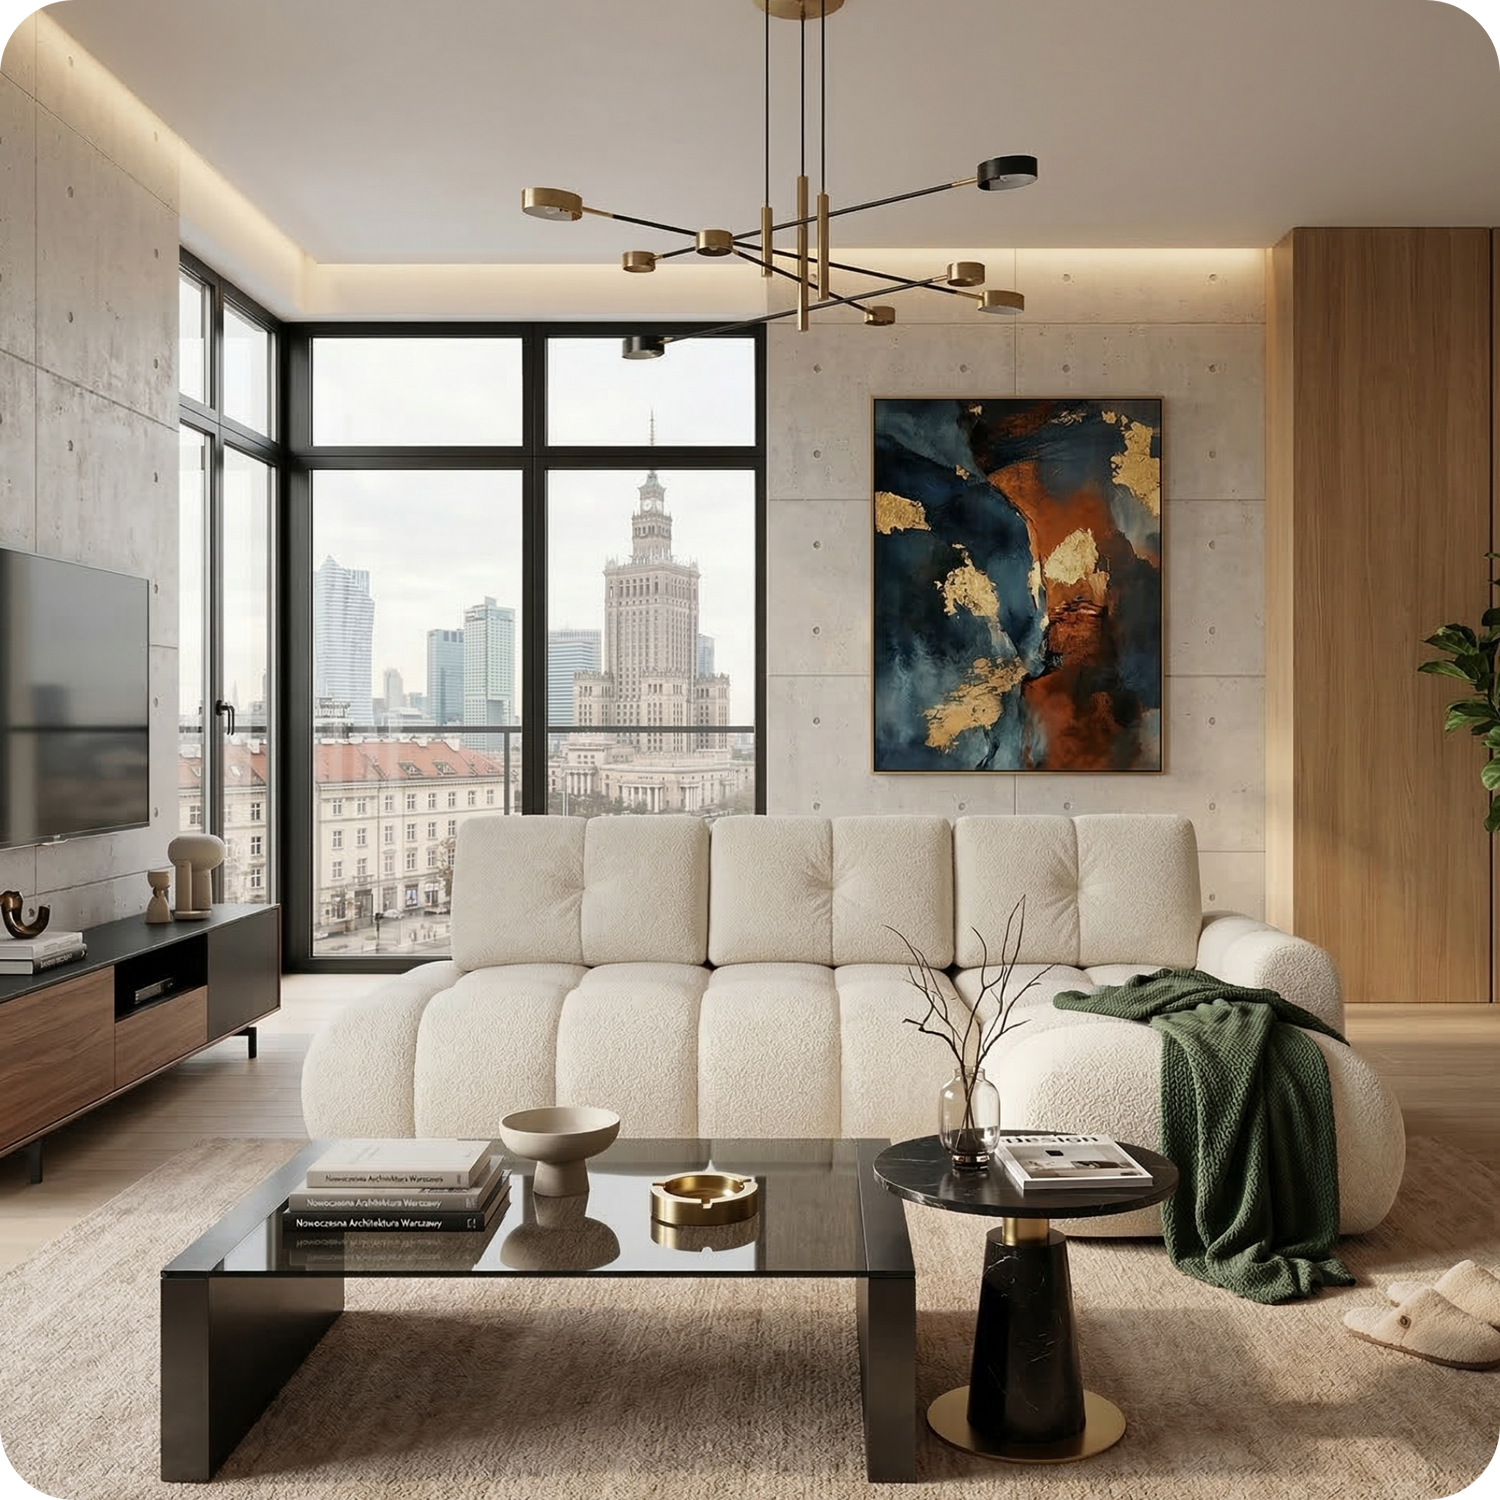
The Malbec's generous proportions work particularly well positioned against a gallery wall. The sofa's substantial presence prevents the wall composition from feeling unanchored — the relationship between a large sofa and a well-curated gallery wall behind it creates a room's most compelling moment.
Step 4: Choose Your Frames
Frame choice makes or breaks the gallery wall. For an informal, layered look: mix natural wood (light ash, dark walnut), black metal, and white or off-white painted frames. Keep at least one unifying element across the frames — for example, all the same finish on the inner lip, or all frames with a similar width of border. For a formal, cohesive look: use matching frames in one colour and material throughout. This is less forgiving in terms of content variation but creates a very polished result. Whichever approach you choose, buy all frames before you hang anything, lay them out on the floor, and adjust the combination until you're happy.
Step 5: Plan the Layout on the Floor
Lay all your frames out on the floor before making a single hole in the wall. Arrange them within the footprint of the wall space you've chosen. The most successful gallery wall layouts have: a clear visual centre — typically one larger piece or the piece with the most visual weight; consistent gaps between frames (5-8cm works well for an informal wall; 8-12cm for a formal grid); good variety in frame size and proportion — avoid too many frames of the same size; and an overall shape that is roughly rectangular or follows the shape of the wall or furniture beneath it.
Step 6: Transfer to the Wall
Once happy with the layout on the floor, trace each frame onto paper, cut the paper out, and use masking tape to recreate the layout on the wall before drilling. This gives you a chance to adjust the arrangement with no consequences. Once the paper layout looks right, mark the hanging point on each paper piece, drill through the paper (which then tears away cleanly), and hang each frame. Use a spirit level throughout — small errors in individual frame alignment are visible in a gallery wall in a way they aren't with a single piece of art.
The Sofa-Gallery Wall Relationship
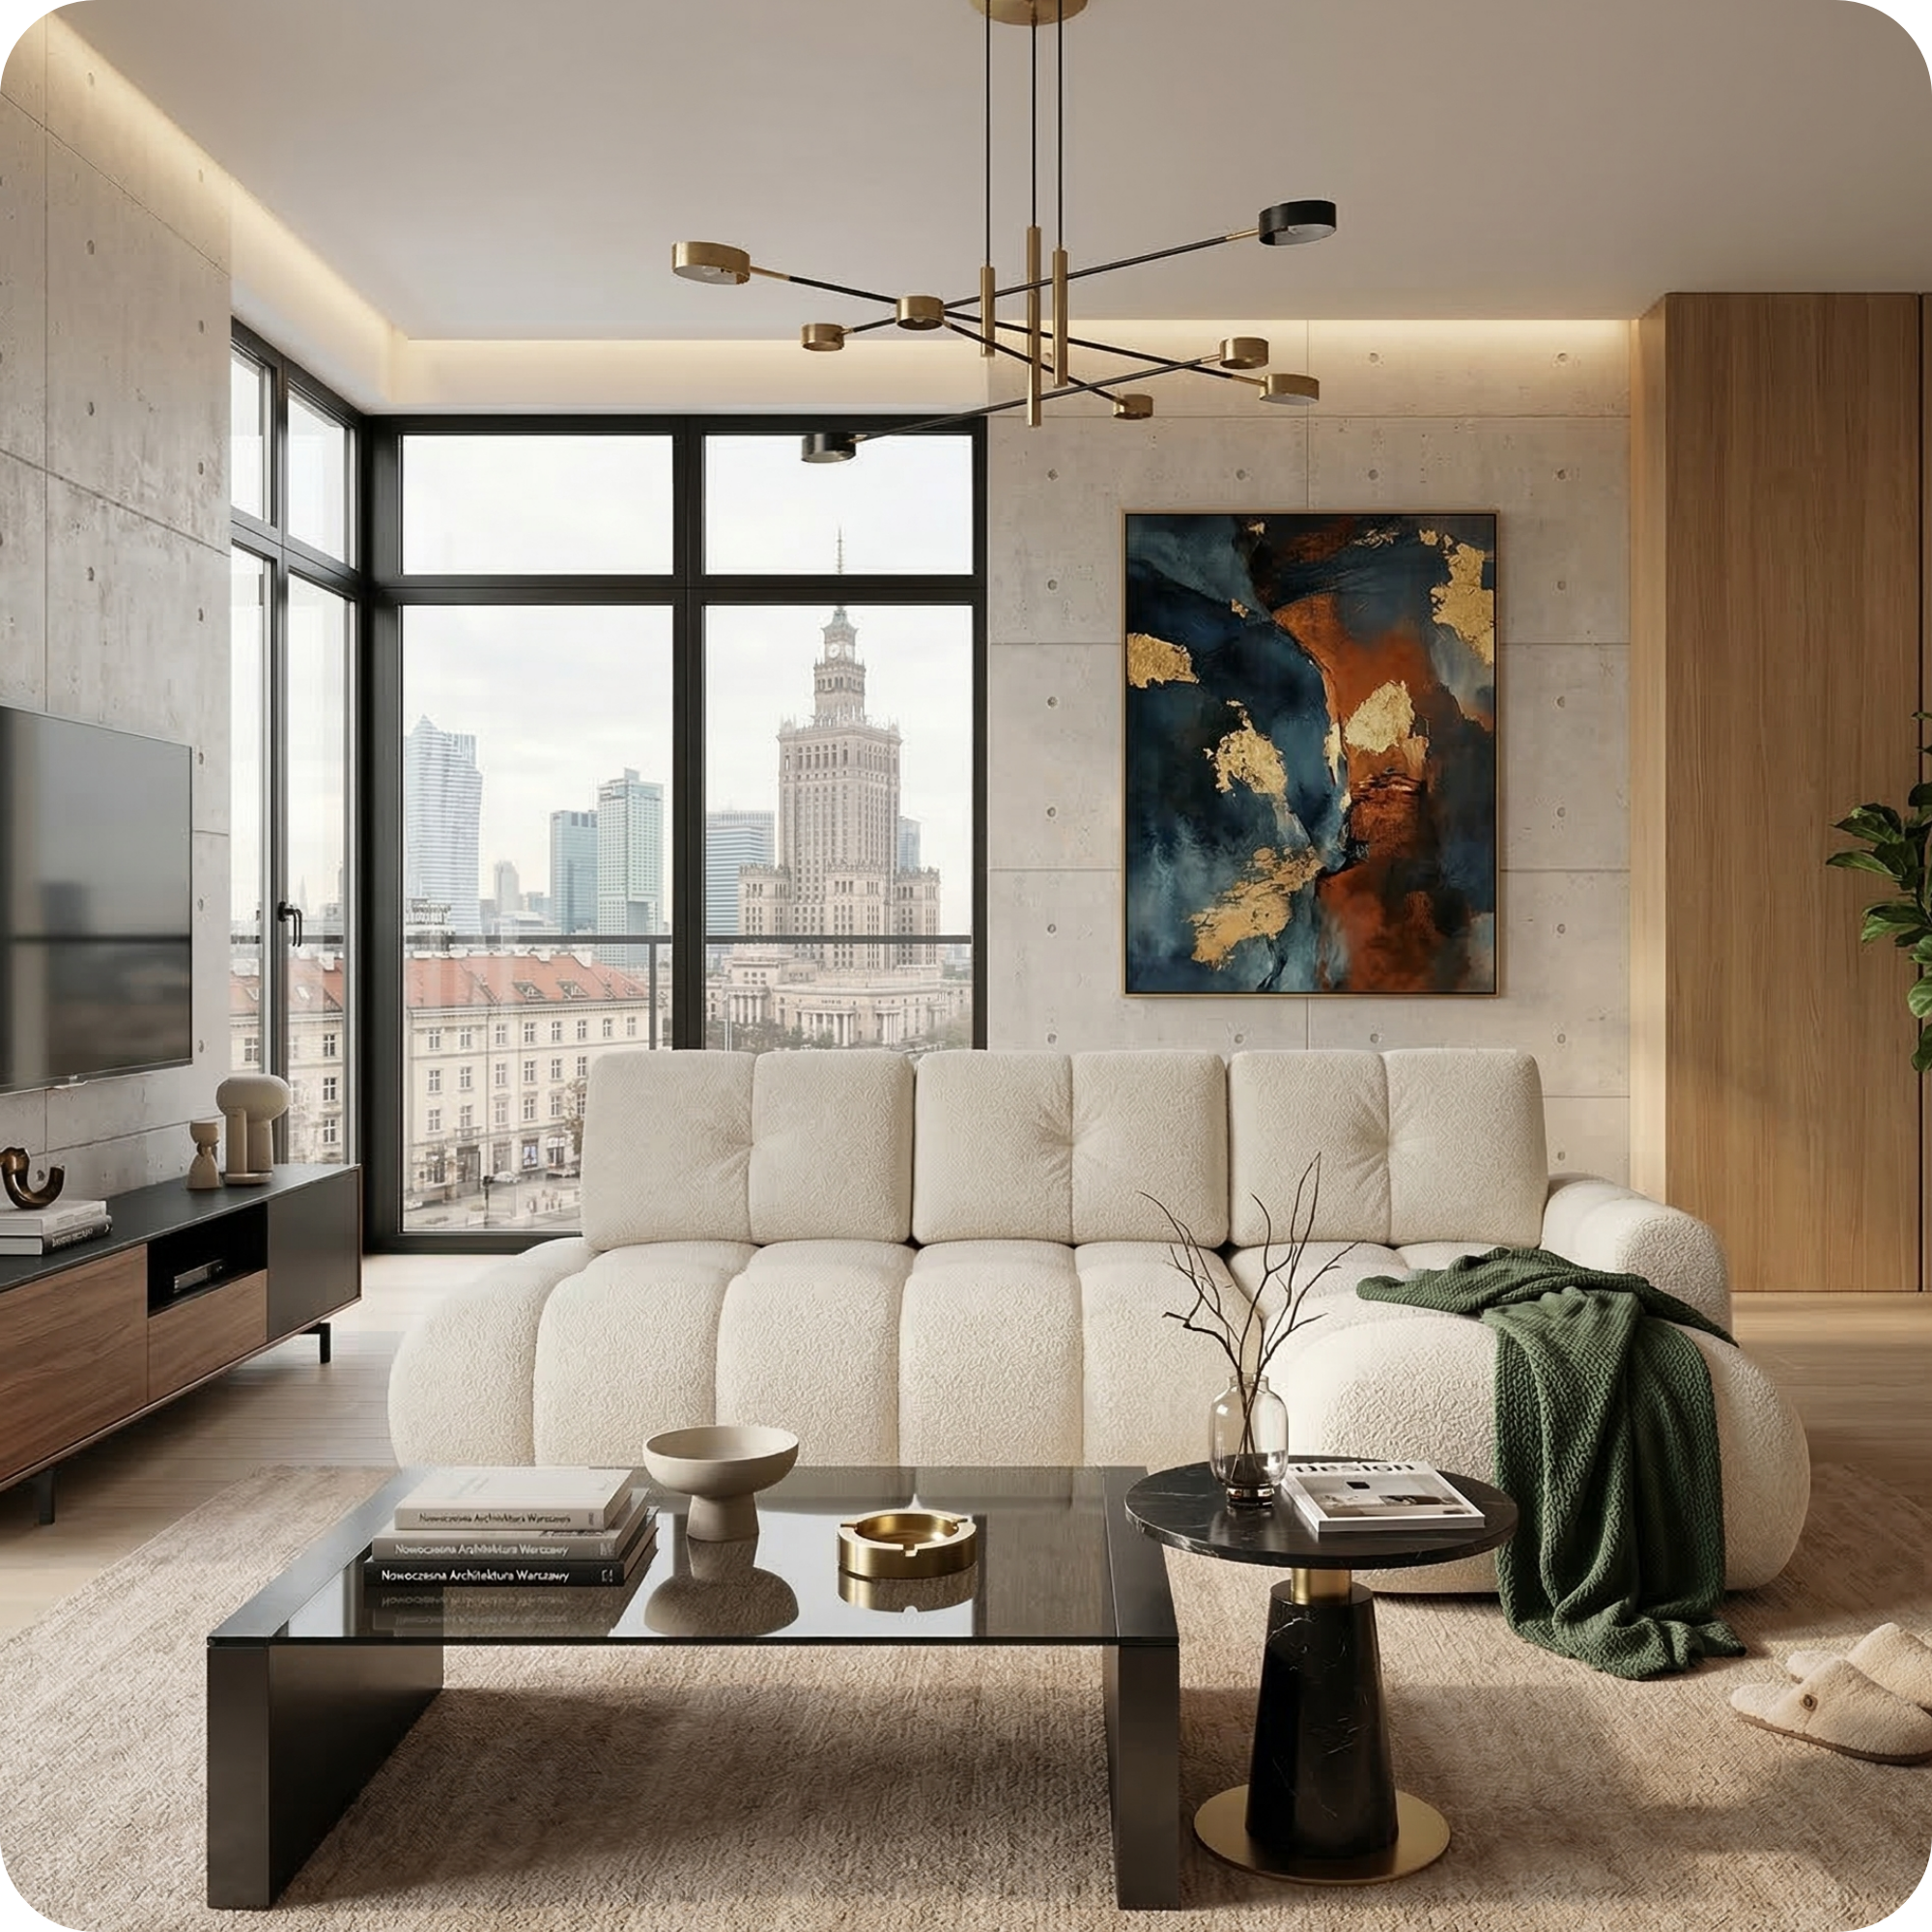
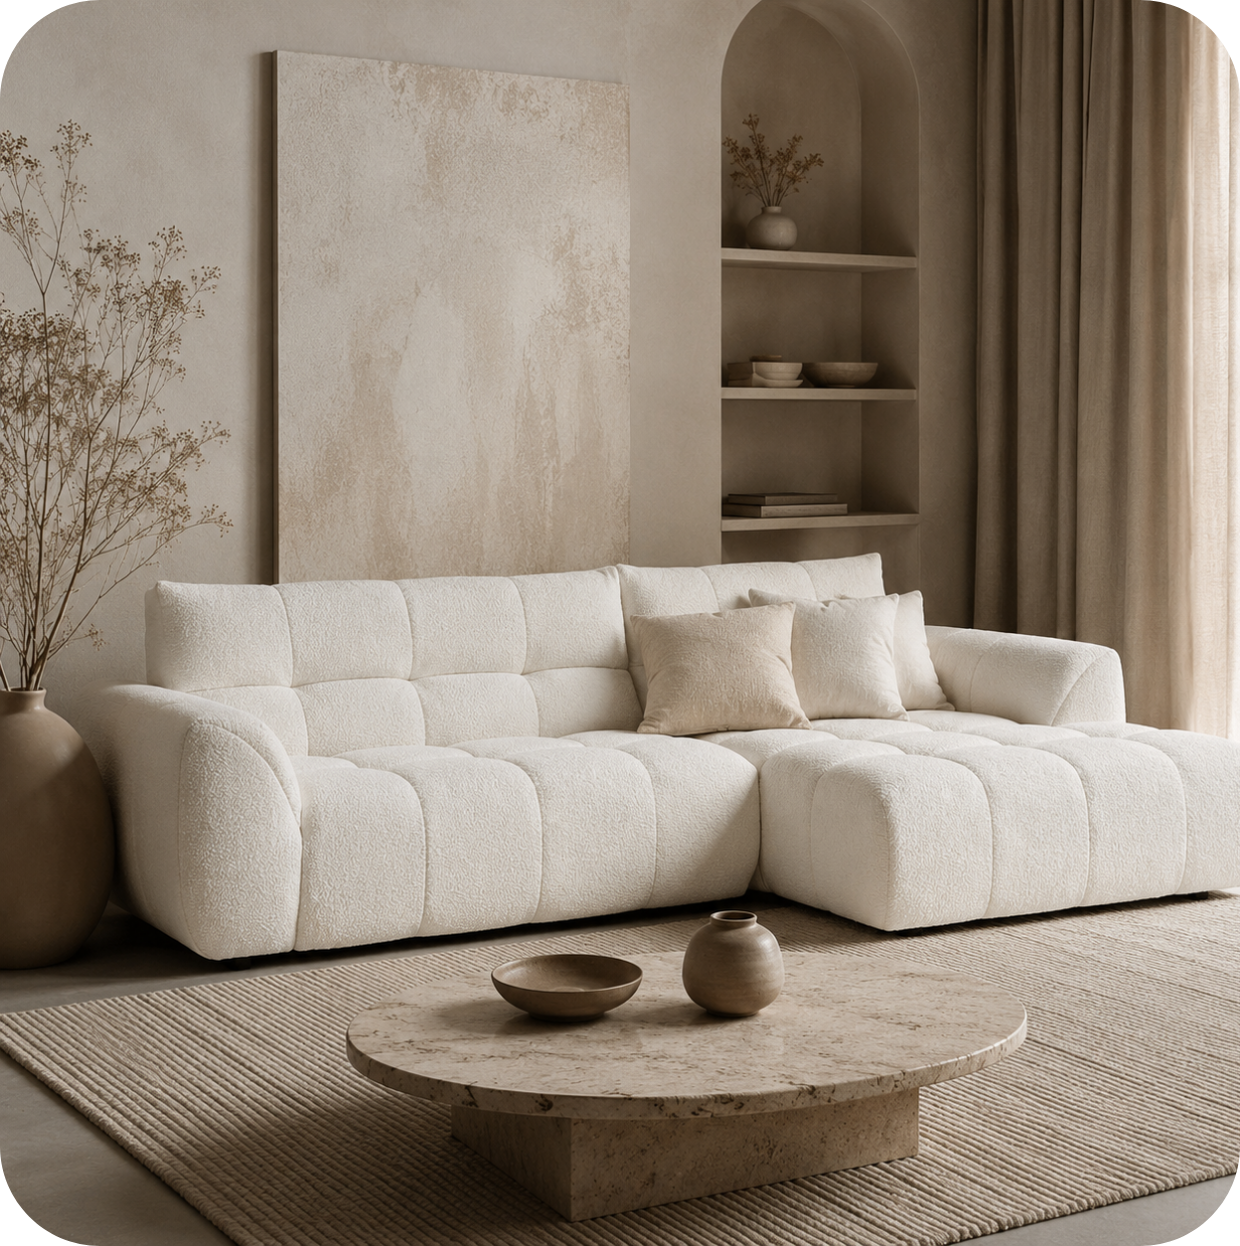
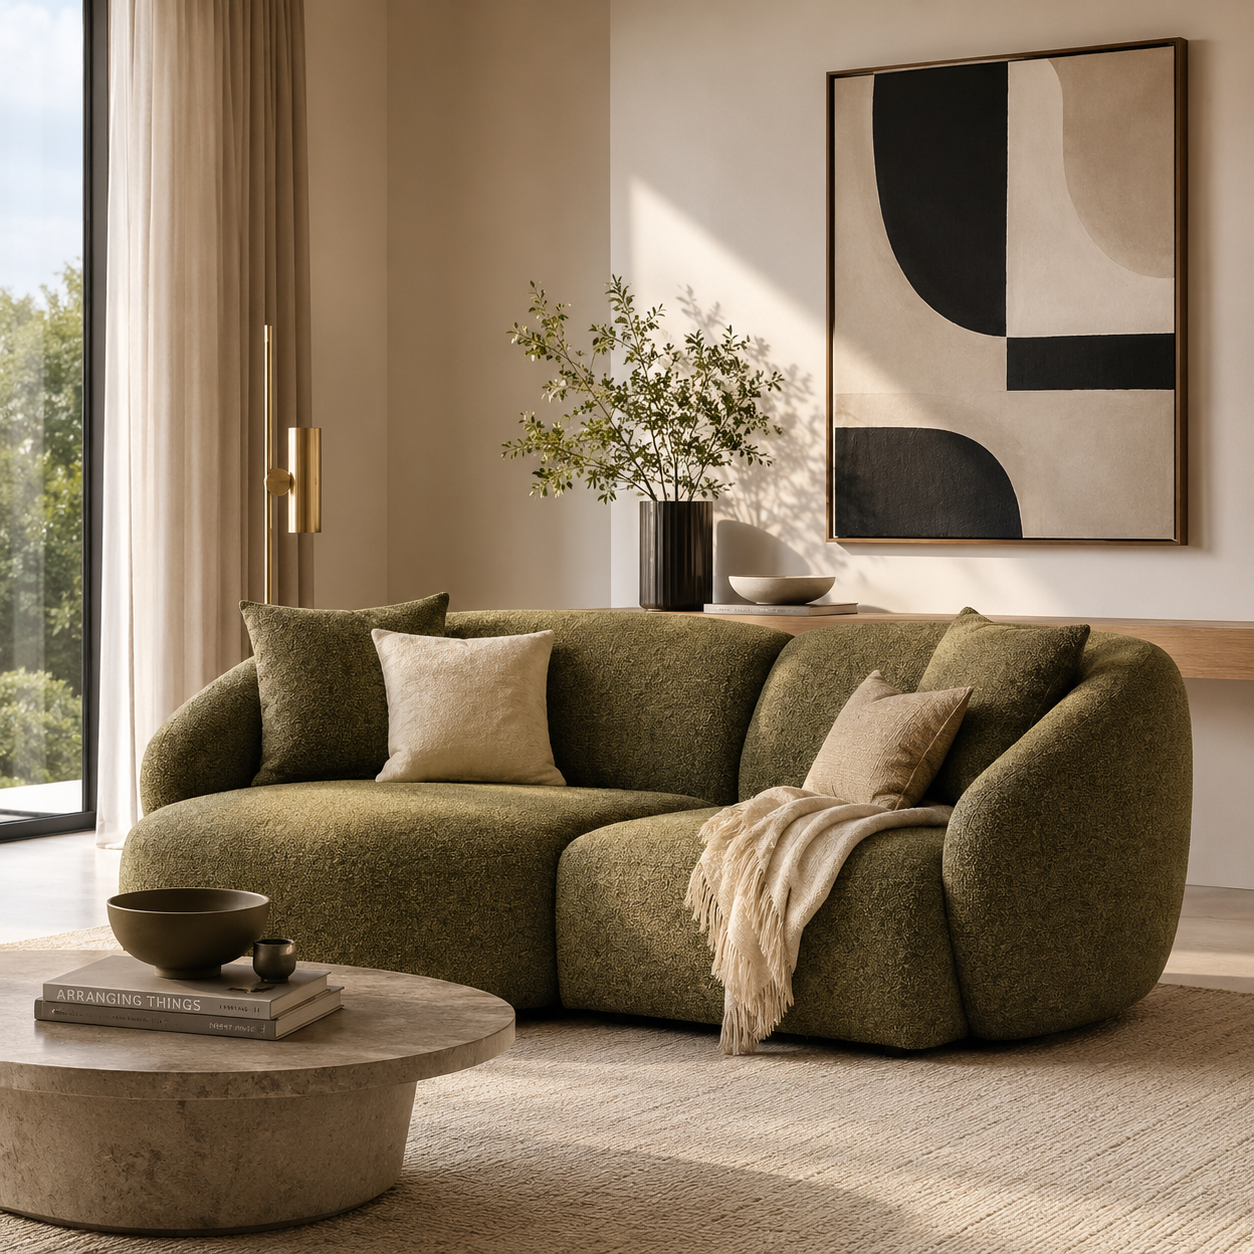
When a gallery wall sits above a sofa, proportions matter. The gallery wall arrangement should be approximately two thirds the width of the sofa below it — too wide and the arrangement appears to float, unanchored; too narrow and the sofa appears to swallow it. The bottom of the lowest frame should sit roughly 20-30cm above the top of the sofa back, creating visual breathing room without breaking the relationship between the sofa and the wall above it.